Your bar cart is doing the bare minimum — a few dusty bottles, a lonely lemon, and zero personality. Sound familiar? A well-styled bar cart isn’t just a place to store your gin collection; it’s a statement piece that can transform an entire room. With the right approach, yours can look like it jumped straight off a Pinterest board and actually work for your Friday night hosting needs.
Let’s get into it.
Start With the Right Bar Cart Foundation
Before you style a single bottle, make sure your cart itself sets the right tone. The frame does a lot of the heavy lifting.
- Gold or brass finish → warm, glam, maximalist vibes
- Black matte → moody, modern, editorial-worthy
- Vintage chrome → retro chic, art deco energy
- Natural wood → earthy, Scandinavian, cozy aesthetic
Pick one that complements your existing room palette. A cart that fights your furniture will always look “off,” no matter how beautifully you style it.
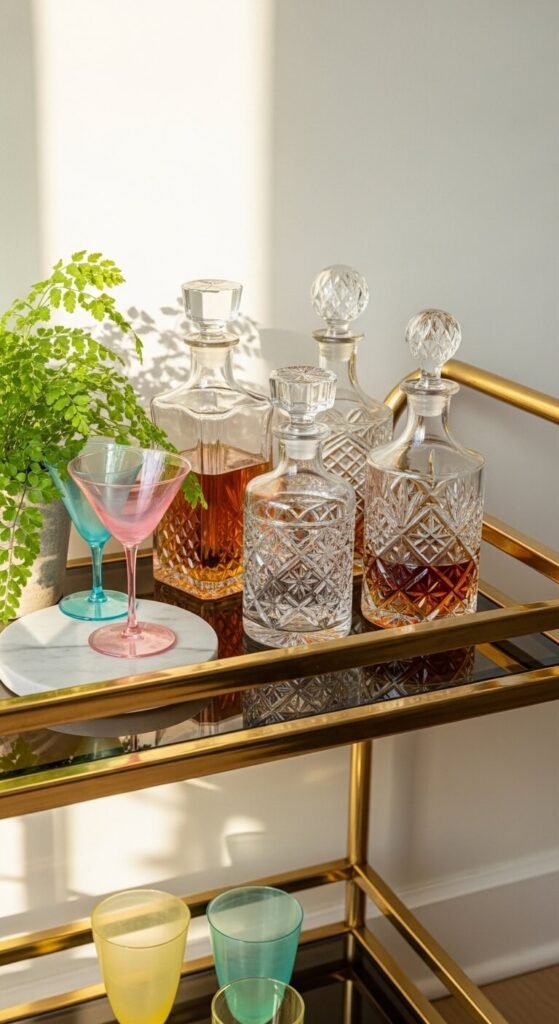
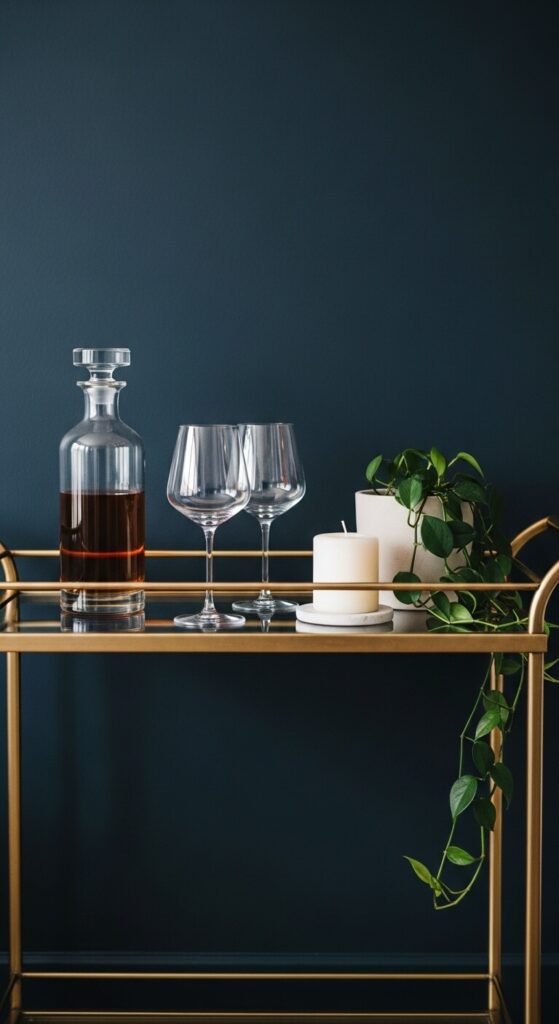
Use the Two-Tier Rule
Think of your bar cart in two distinct zones: the top tier for show, the bottom tier for function.
Top tier (the Instagram layer):
- 1–2 statement bottles (beautiful labels or decanters)
- A small vase with fresh or dried botanicals
- A cocktail shaker or elegant jigger
- One decorative object (a candle, a geode, a mini tray)
Bottom tier (the working layer):
- Extra bottles, mixers, and wine
- Bar tools — muddler, strainer, bottle opener
- Napkins, picks, and anything “utilitarian”
This separation keeps the cart looking curated instead of cluttered, while still being genuinely useful when guests arrive.
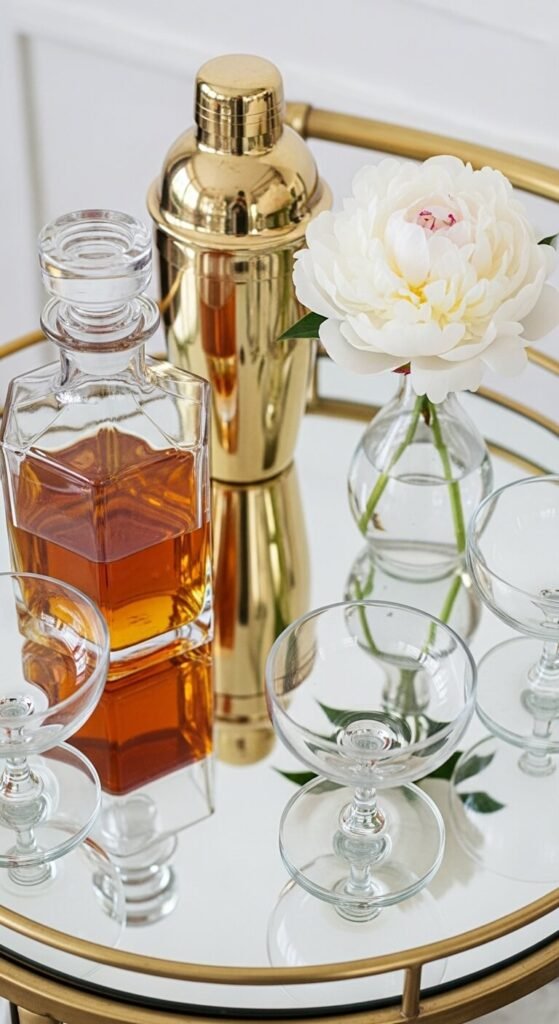
Master the Art of the Tray
A tray is your best friend in bar cart styling — it visually anchors items and prevents that “random stuff shoved together” energy.
- Use a mirrored or marble tray to corral your glassware
- Group small items (bitters bottles, jiggers) onto a small round tray
- Stack two or three cocktail napkins under the tray for texture and color pop
The tray trick works because the human eye reads grouped items as intentional. Scattered items just look messy.
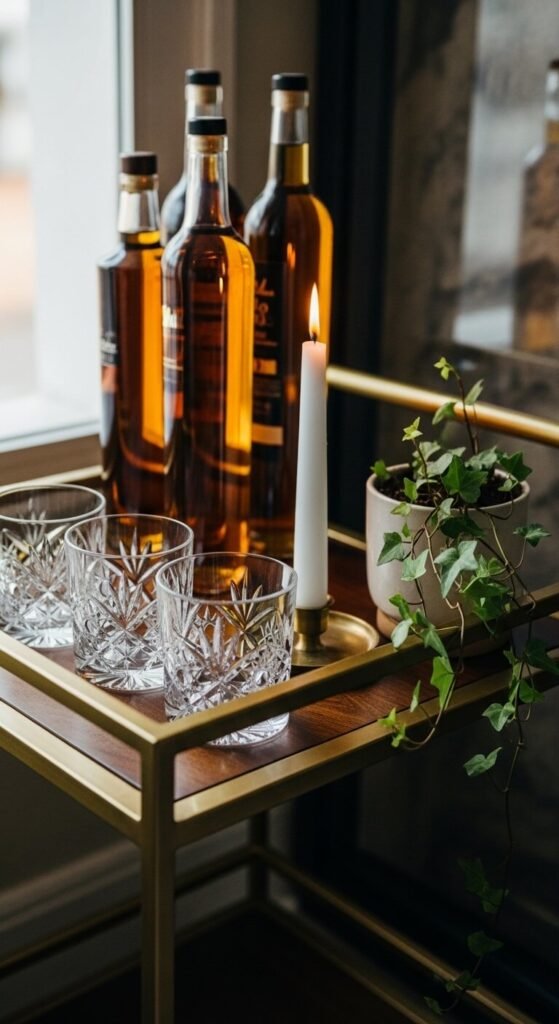
Play With Height and Texture
Flat styling is boring styling. You want your eye to travel up and across the cart, not just sit flat on one level.
Here’s how to create visual movement:
- Tall bottles at the back, shorter glasses at the front
- Add a tall candle or taper holder for unexpected height
- Mix matte and shiny surfaces — a velvet coaster next to a crystal glass, for example
- Tuck in something organic — a eucalyptus sprig, a small succulent, or a few dried citrus slices
Texture contrast is what separates a “styled” cart from a “stocked” one.
Edit Ruthlessly — Less Is More
The most common bar cart mistake? Overcrowding. Every item you add should either serve a purpose or add beauty — ideally both.
Quick edit checklist before you step back:
- ✅ Can you remove one item and improve the look?
- ✅ Is there a color popping up that doesn’t belong?
- ✅ Are there more than 3 different textures competing for attention?
- ✅ Does the cart feel balanced left-to-right?
A good rule of thumb: if you hesitate when placing something, it probably doesn’t belong there.
Final Touches That Make It “The Shot”
Once your cart is styled, these micro-details are what make it camera-ready:
- Wipe down all glass surfaces — fingerprints kill the vibe in photos
- Add a fresh lemon or lime to the tray for natural color
- Light the candle for warm, golden ambiance
- Step back and shoot from a 45-degree angle — never straight-on
You’ve Got a Bar Cart Worth Showing Off
Styling a bar cart that’s equal parts functional and beautiful isn’t about spending a lot — it’s about being intentional. Use the two-tier rule, anchor everything with a tray, vary your heights, and edit until it feels effortless.