Your dresser top is prime real estate — and most of us are wasting it on a pile of receipts, tangled jewelry, and last night’s earrings. But with a little intention, that flat surface can become one of the most beautiful spots in your entire bedroom. Think curated, not cluttered. Effortless, not empty.
Ready to transform your dresser into a styled moment? Here’s exactly how to do it.
Start With a Clean Slate (Seriously, Clear It All Off)
Before you add anything back, take everything off. Wipe it down. Start fresh.
This step matters more than people think. When you begin with a blank surface, you stop making excuses for the clutter that “lives there” and you start making intentional decisions about what deserves to be there.
Ask yourself:
- Does this item serve a purpose, a visual role, or both?
- Would I put this in a magazine photo? (No shame if the answer is no — that’s the point.)
- Does it bring me joy or just take up space?
Keep only what passes the test.
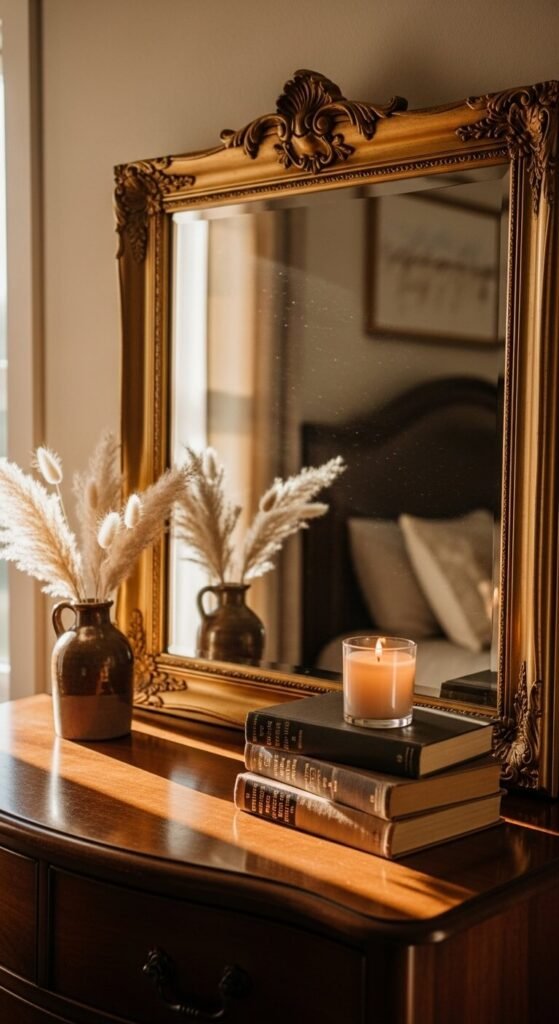
Anchor Everything With a Mirror or Tall Piece
Every well-styled dresser needs a vertical anchor — something tall that draws the eye upward and gives the arrangement height and drama.
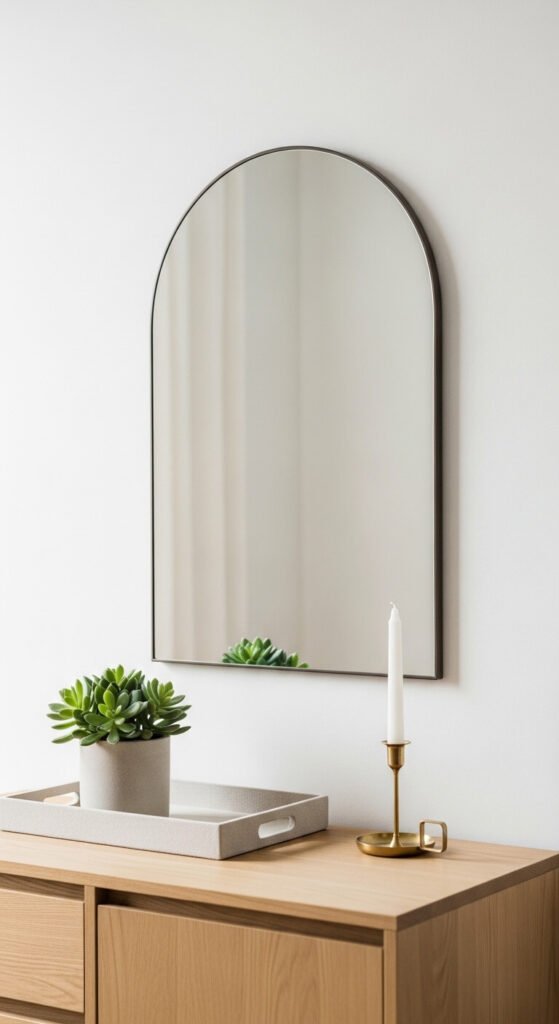
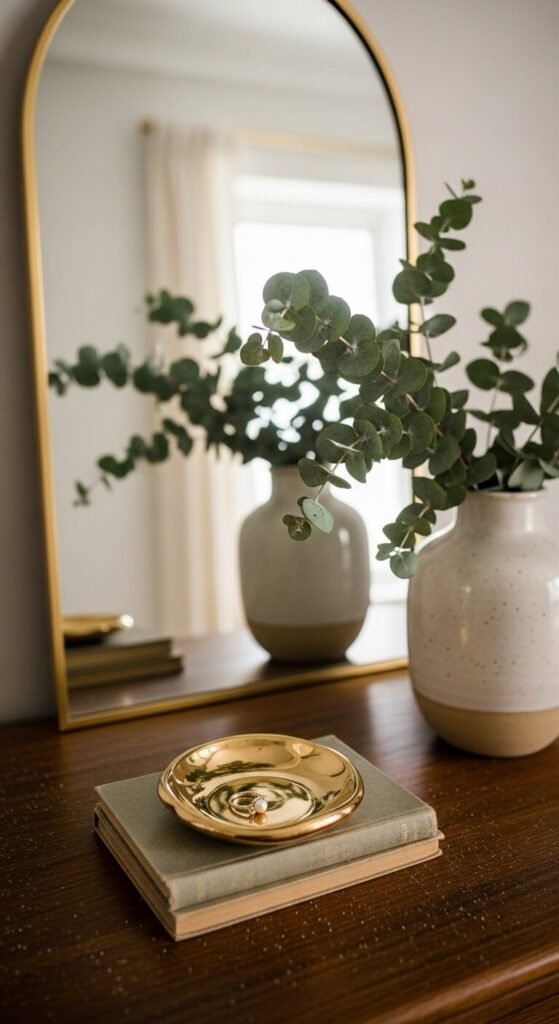
The most classic choice? A mirror. Whether it’s ornate and vintage, clean and modern, or arched and boho, a mirror adds depth, light, and elegance. But you can also use:
- A large piece of framed art leaned against the wall
- A tall sculptural vase
- A macramé wall hanging above the dresser
This anchor becomes your “back row.” Everything else gets layered in front of it.
Build in Layers: Back, Middle, Front
Think of your dresser top like a stage — actors in the back, props in the front.
Back row: Your mirror or tall anchor piece.
Middle row: Medium-height items like:
- A small vase with flowers or dried stems
- A candle in a decorative holder
- A framed photo or small art print
Front row: Low, flat, or small items like:
- A jewelry dish or decorative tray
- A small crystal or object of meaning
- A folded scarf or textured cloth
Layering creates visual interest and makes the arrangement look intentional rather than just “stuff placed on a surface.”
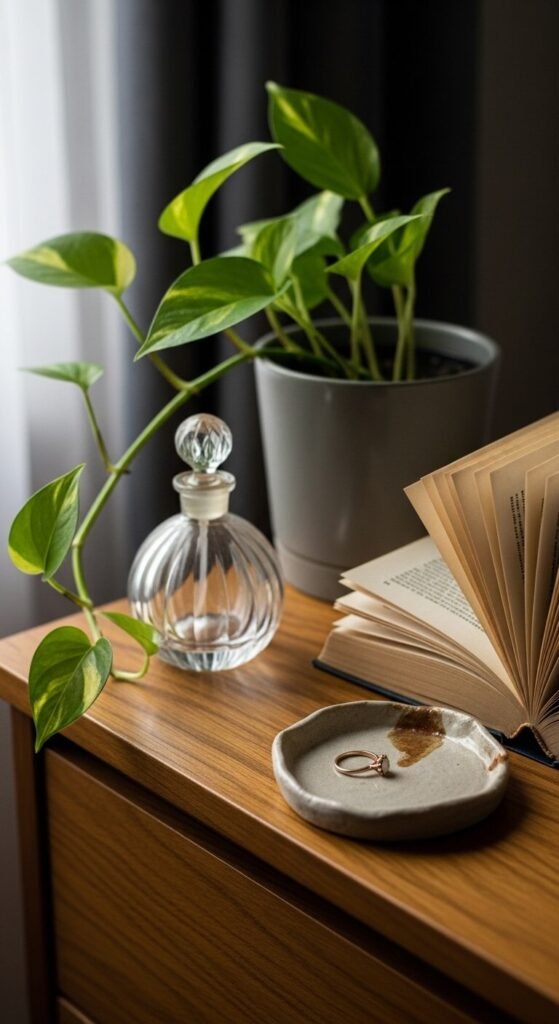
Use a Tray to Create Instant Organization
A tray is a game-changer. It groups small items together so they look collected instead of scattered. Place a linen, marble, rattan, or ceramic tray in one corner and use it to:
- Coral your perfume bottles
- Hold your daily jewelry
- Cluster small candles or crystals
The tray acts as a frame — suddenly five little items become one cohesive vignette. Magic.
Add Personality With Living Things and Meaningful Objects
Here’s what separates a styled dresser from a generic one: you.
Add at least one living element — a small plant, a stem of dried lavender, or fresh flowers in a simple vase. Living things bring warmth and softness that no décor item can replicate.
Then add one or two objects that mean something to you:
- A photo of someone you love
- A souvenir from a trip
- A book you’re proud of or obsessed with
- An heirloom piece that tells a story
These personal touches are what make a styled dresser feel like home rather than a furniture showroom.
Keep the Rule of Odds in Mind
When grouping items, odd numbers look more natural than even ones. Style items in groups of 3 or 5. Three candles. Five books stacked with a plant on top. A vase, a dish, and a figurine.
Even numbers feel rigid and symmetrical. Odd numbers feel curated and alive.
The Final Check: Step Back and Edit
Once everything is in place, step back — literally. Look at the dresser from across the room.
Ask yourself:
- Is there too much going on? Remove one item.
- Does it feel flat? Add something with height or texture.
- Does it feel like me? If not, swap something out.
Great styling is just editing with a good eye.
Style It Once, Love It Every Day
Your dresser top doesn’t need to be complicated — it just needs to be considered. A mirror, some layers, a tray, a plant, and a touch of you. That’s the whole formula.
Save this article for your next bedroom refresh, and share it with a friend who’s due for a dresser glow-up!