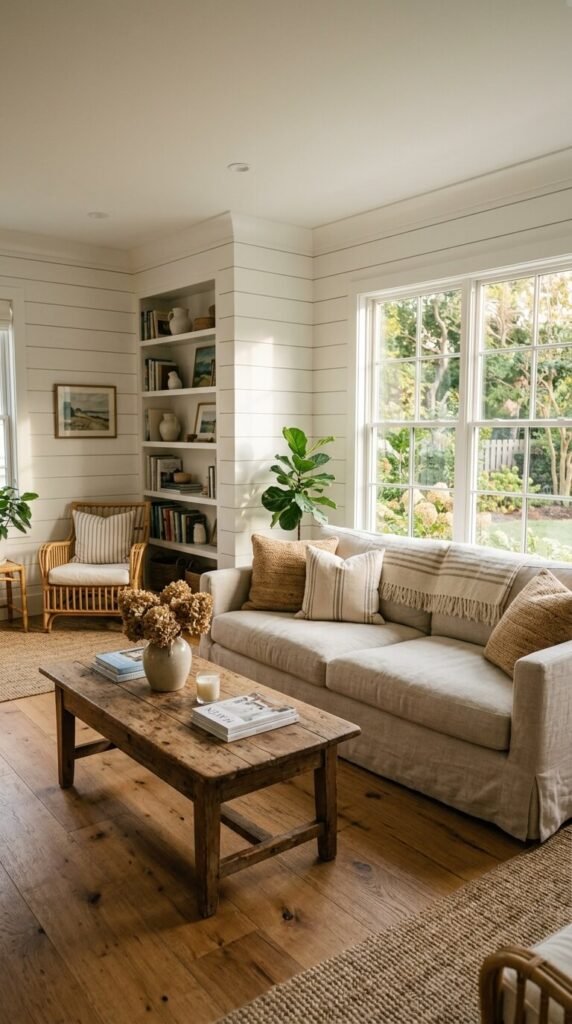
Shiplap walls have moved far beyond barn renovations. Today, they show up in city apartments, modern cottages, and coastal retreats. The clean horizontal lines, the soft shadows between boards, and the raw wood texture make any room feel grounded and warm. Whether you are working with a tight budget or planning a full room makeover, shiplap is one of the easiest ways to add character to a plain wall. This guide walks you through 25 real installation ideas — from single accent walls to full-room wraps — so you can find the look that fits your home and your budget.
1. Classic White Shiplap Living Room Accent Wall
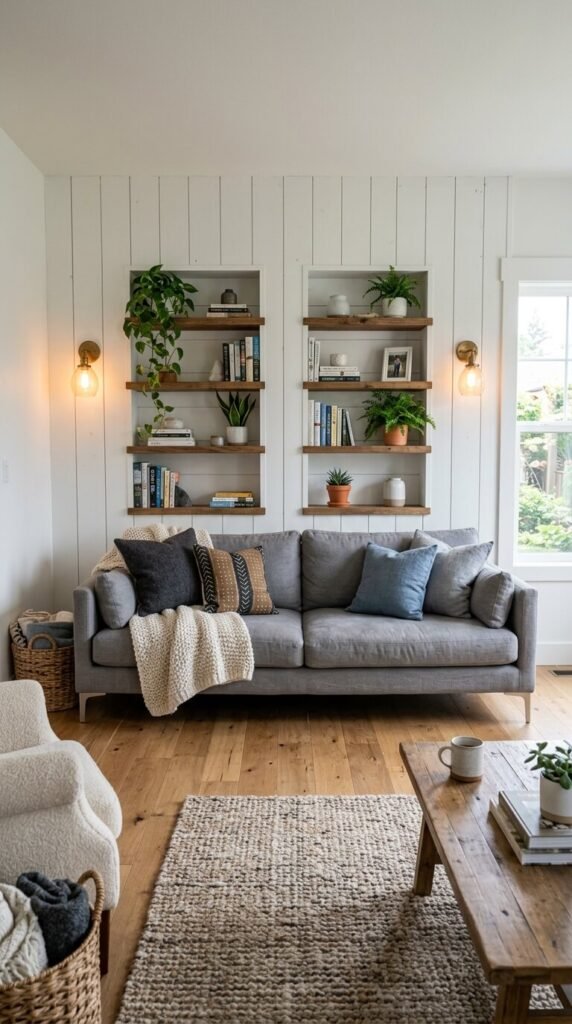
White shiplap on a single living room wall is the most popular starting point — and for good reason.
It is affordable and beginner-friendly. You can source primed MDF shiplap boards at most home improvement stores for under $1.50 per square foot.
Paint it bright white for a clean farmhouse look. Keep the rest of the room neutral so the texture does the heavy lifting.
DIY tip: Use a 1/8-inch coin as a spacer between boards for consistent shadow lines. Nail directly into studs and fill holes with spackle before painting.
2. Shiplap Fireplace Surround
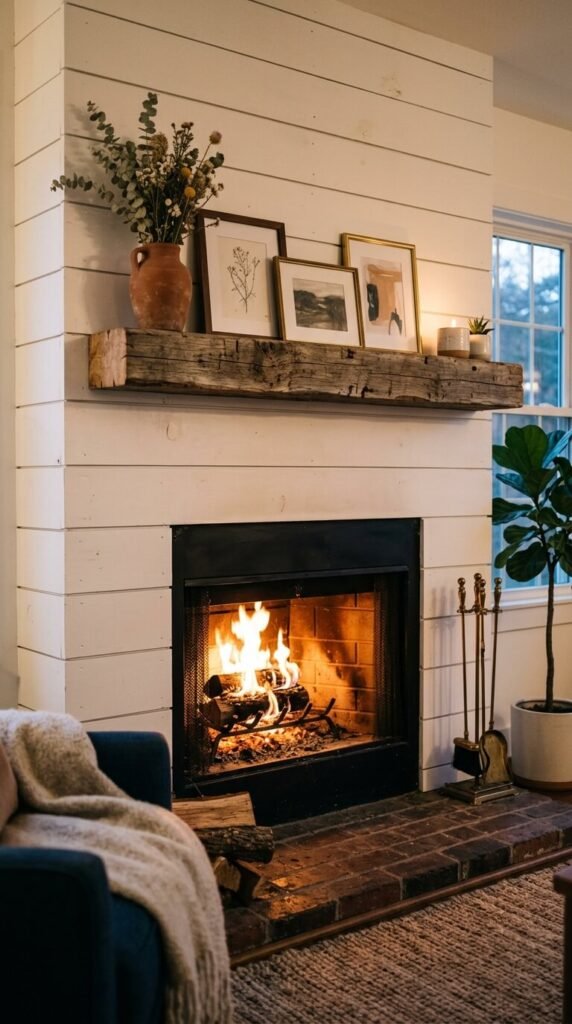
A shiplap fireplace wall is one of the highest-impact upgrades you can make.
The horizontal boards frame the firebox beautifully. Add a reclaimed wood mantel and you have a focal point that looks custom-built.
This works in both tight and large rooms. The boards add depth without taking up physical space.
Budget tip: Use thin plywood ripped into 6-inch strips instead of pre-milled boards. Sand the edges smooth. It cuts material cost nearly in half and looks identical once painted.
3. Shiplap Kitchen Backsplash
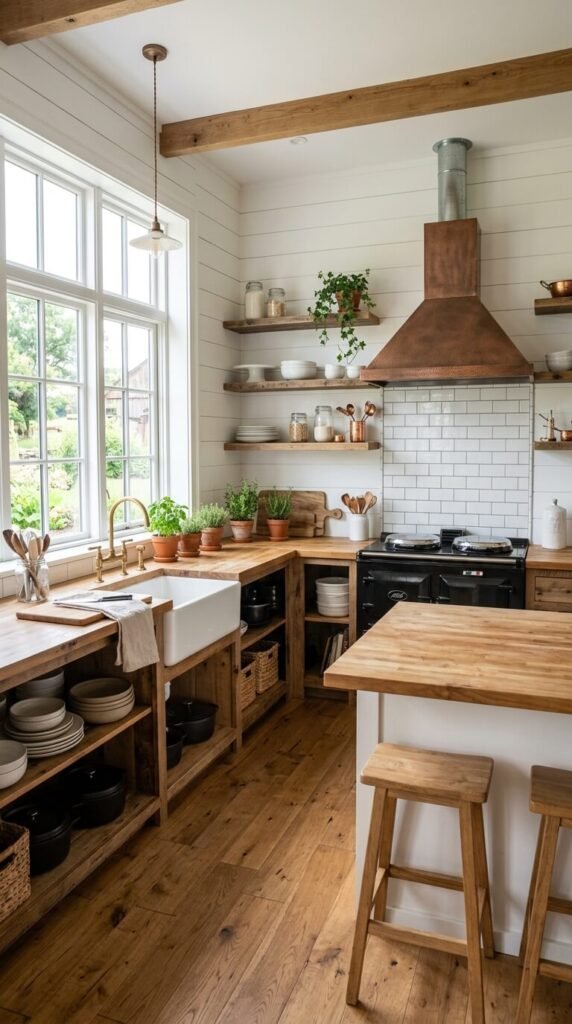
Most people default to tile for backsplashes. Shiplap is a surprising alternative that works beautifully in low-splash areas.
Use it between floating shelves and countertops. Pair it with open shelving above for a true farmhouse kitchen vibe.
Keep it away from the stove and sink. A light coat of semi-gloss paint seals the wood and makes it easier to wipe down.
DIY tip: Apply two coats of semi-gloss or satin finish paint. It protects the wood and holds up to kitchen humidity far better than flat paint.
4. Shiplap Bedroom Headboard Wall
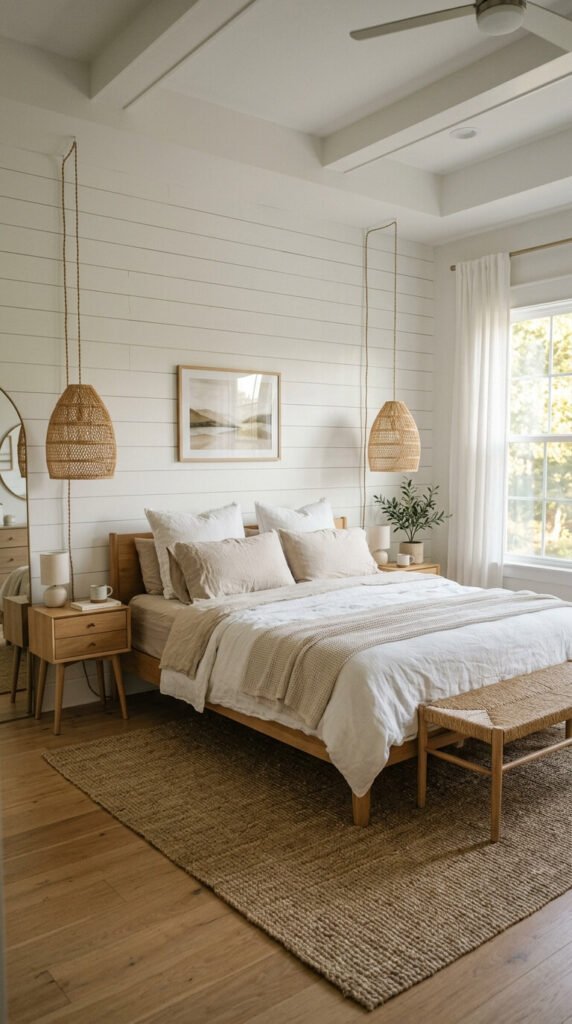
A shiplap headboard wall makes your bed feel like the center of the room.
Run the boards all the way to the ceiling for maximum drama. Keep the bedding simple — white or linen tones work best so the wall gets the attention.
Wall-mounted lighting looks especially sharp against shiplap. Sconces or plug-in pendants avoid the need to drill through boards.
Budget tip: Install shiplap only behind the bed — from headboard height to ceiling. You save on materials and still get the full visual effect from anywhere in the room.
5. Shiplap Bathroom Walls
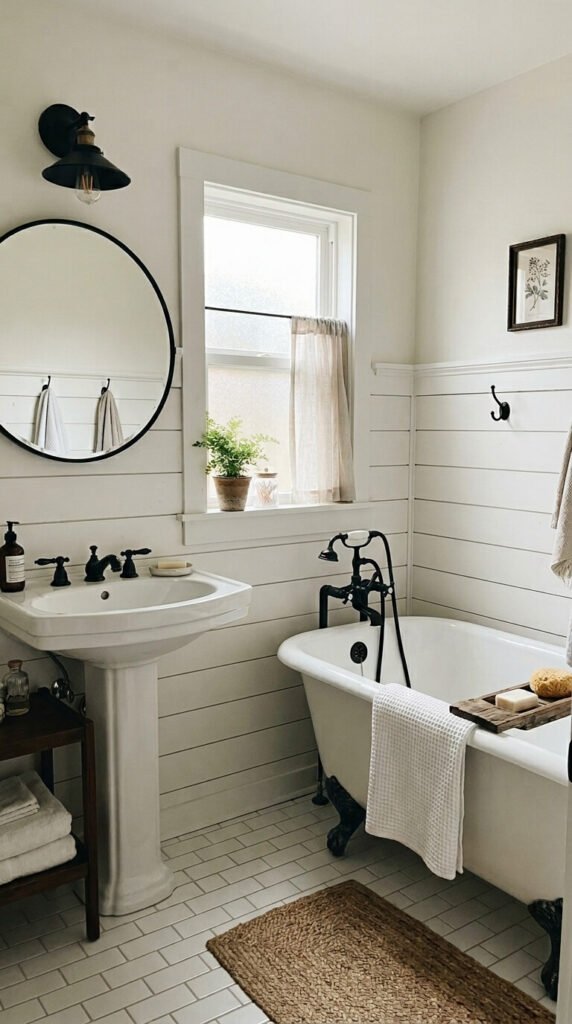
Yes, you can use shiplap in a bathroom — with the right prep work.
The secret is moisture control. Seal all board edges before installation. Caulk every seam. Use a high-quality primer and two coats of semi-gloss.
Avoid placing boards directly around the shower or tub unless you use a waterproof option like PVC shiplap.
Wainscoting style — boards running halfway up the wall — is the safest approach. It looks polished and keeps the most moisture-prone areas protected.
6. Shiplap Entryway Feature Wall
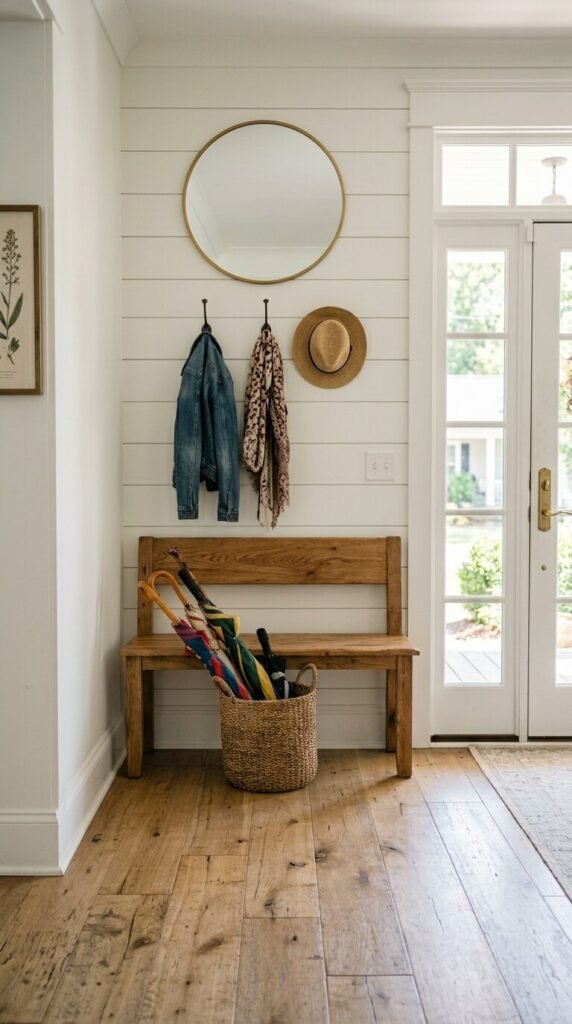
First impressions matter. A shiplap entryway wall makes your home feel intentional from the moment guests walk in.
Keep it simple. A wooden bench, a few hooks, and a mirror are all you need to make the wall functional and beautiful.
The horizontal lines draw the eye down the hallway, making a narrow entry feel longer and more open.
DIY tip: This is often the smallest wall project in a home. Great for first-timers. You can complete an average entryway wall in a single weekend.
7. Shiplap Mudroom with Built-In Storage
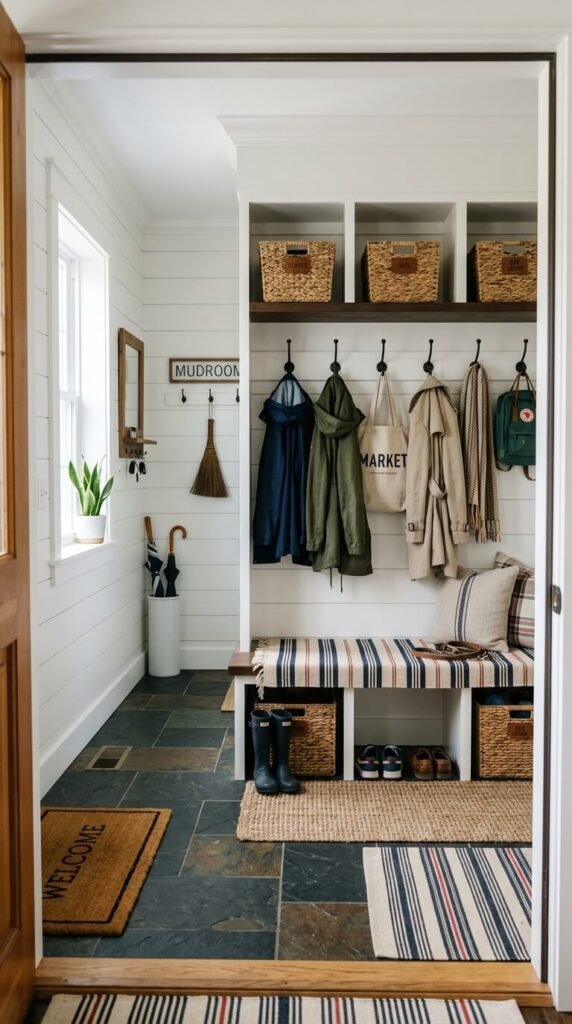
A mudroom takes a beating. Shiplap holds up well and is easy to touch up with paint when scuffs appear.
Build or buy simple cubbies that sit flush against the shiplap. The boards behind them add texture even when storage is full.
Dark iron hooks against white boards is a classic farmhouse combination. It is clean, practical, and affordable.
Budget tip: IKEA KALLAX units or similar modular shelves sit beautifully in front of a shiplap wall without requiring built-in carpentry.
8. Shiplap Staircase Wall
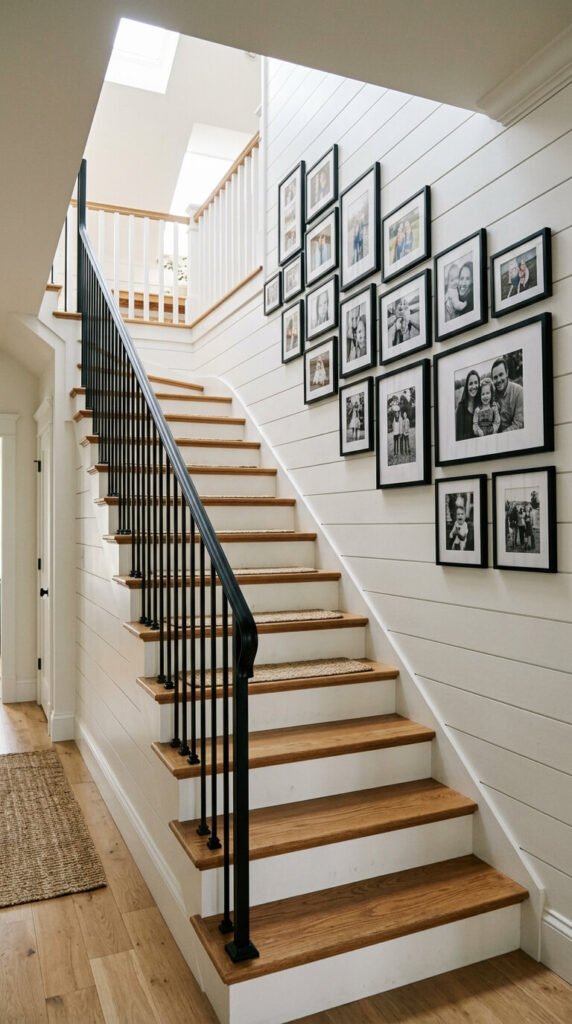
The tall, angular wall alongside a staircase is one of the hardest spaces to decorate. Shiplap solves it effortlessly.
The horizontal boards create a clean backdrop for a gallery wall of framed photos. The lines guide the eye upward, making the staircase feel more dynamic.
Cut boards at an angle at the top and bottom to follow the slope of the staircase cleanly.
DIY tip: Rent a miter saw for a day to handle the angled cuts. It saves hours of frustration and produces clean, professional-looking lines.
9. Full Shiplap Dining Room Walls
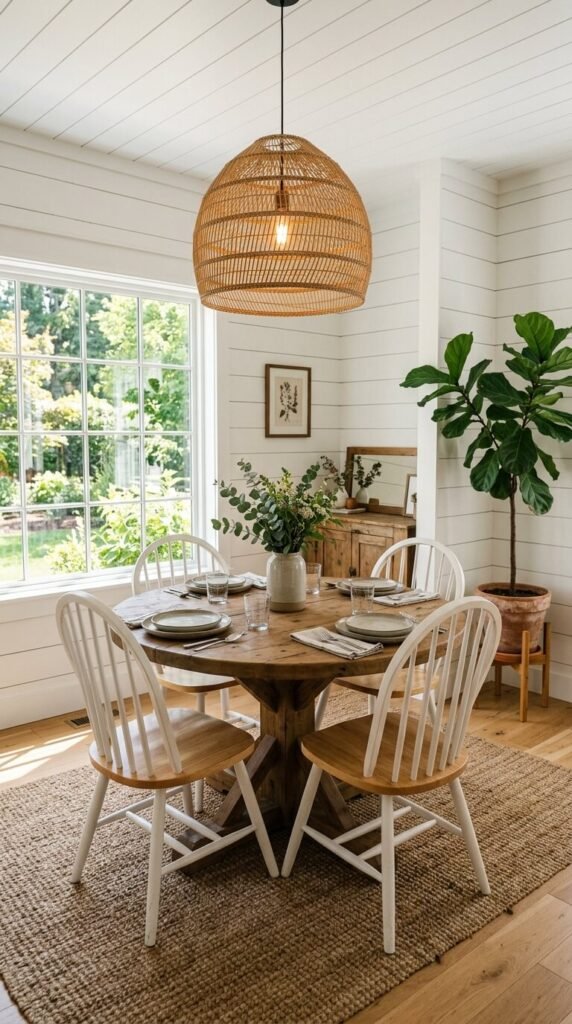
Wrapping the entire dining room in shiplap creates a cohesive, cozy atmosphere.
It sounds bold, but white boards on all four walls actually make a room feel larger and brighter rather than closed in. The texture adds warmth that paint alone cannot.
Add a statement light fixture overhead. A rattan or iron pendant becomes a focal point against the clean white background.
Budget tip: Limit the ceiling height to 8 feet and use standard 8-foot boards — no cuts needed on the verticals, which saves significant time.
10. Shiplap Exterior Siding
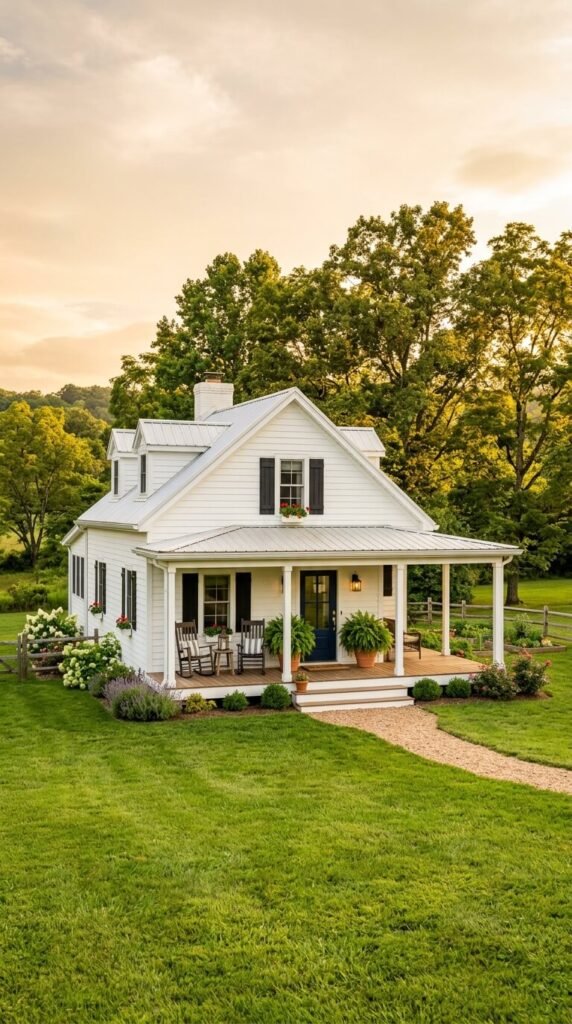
Real shiplap siding was the original purpose of this board style — and it still looks incredible on home exteriors.
Use cedar or pine boards treated for outdoor use. Prime and paint with exterior-grade paint to protect against weather.
Horizontal installation sheds water naturally. The overlapping design keeps moisture out better than flat siding.
Budget tip: Engineered wood shiplap panels (like LP SmartSide) cost less than solid wood and come pre-primed. They are more resistant to rot and pests.
11. Shiplap Home Office Accent Wall
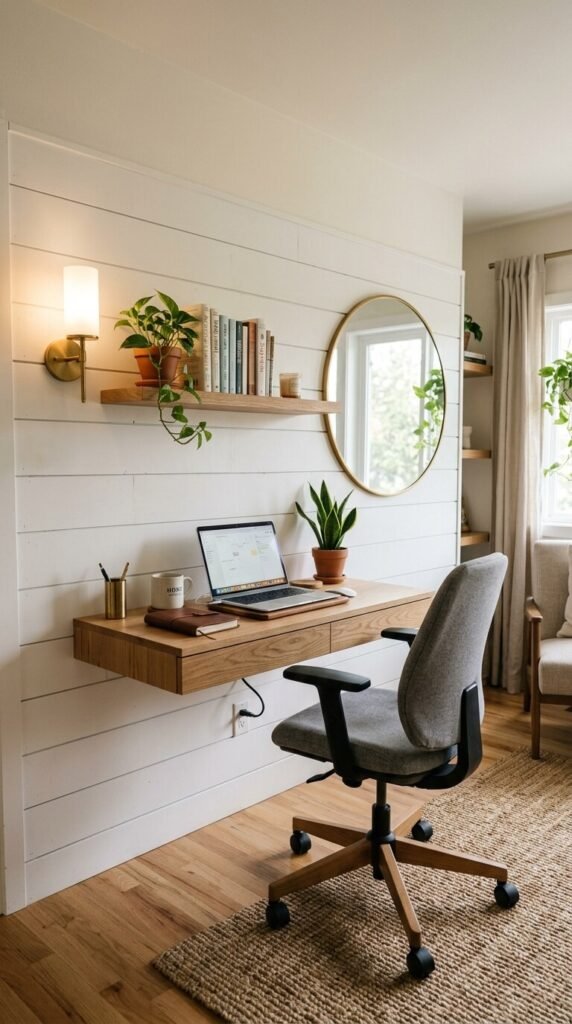
A shiplap wall behind your desk immediately improves your video call backdrop.
It looks polished without being distracting. Pair it with a floating wood shelf above the monitor for a styled but functional look.
The texture adds warmth to what can otherwise feel like a sterile workspace.
DIY tip: Pre-paint boards before installing them. It is much faster than cutting in around every horizontal line after installation. One coat before, one coat after — and you are done.
12. Shiplap Nursery or Kids’ Room Wall
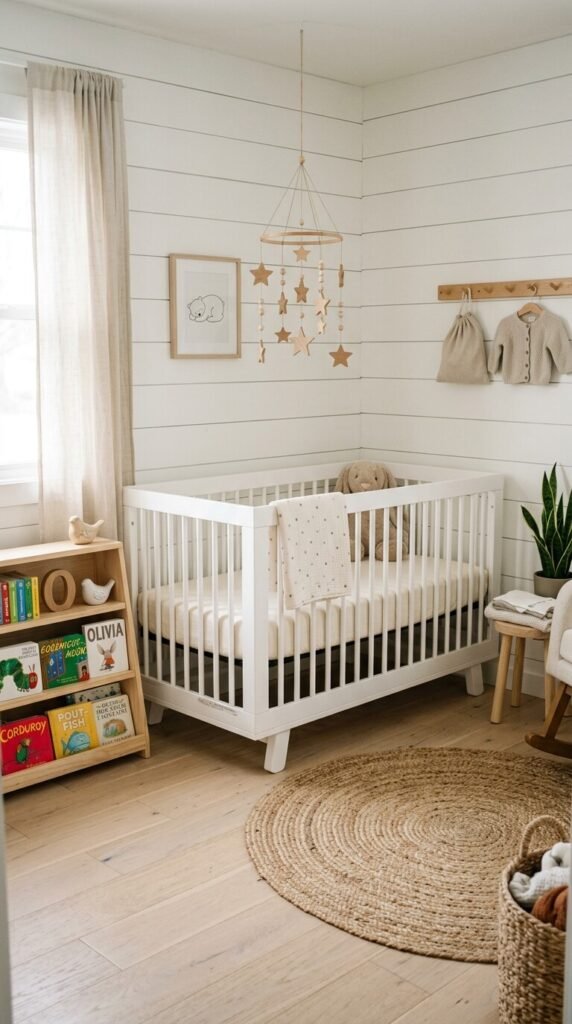
Shiplap works beautifully in a nursery or kid’s room. It adds character without relying on busy prints or themed wallpaper.
As children grow, the wall adapts. It looks just as good behind a crib as it does behind a full-size bed years later.
Keep the color simple — white or soft warm white. Let the texture do the decorating.
Budget tip: Install shiplap only on the wall behind the crib or bed. One accent wall is all you need, and it cuts material costs significantly.
13. Dark-Stained Shiplap for a Moody Look
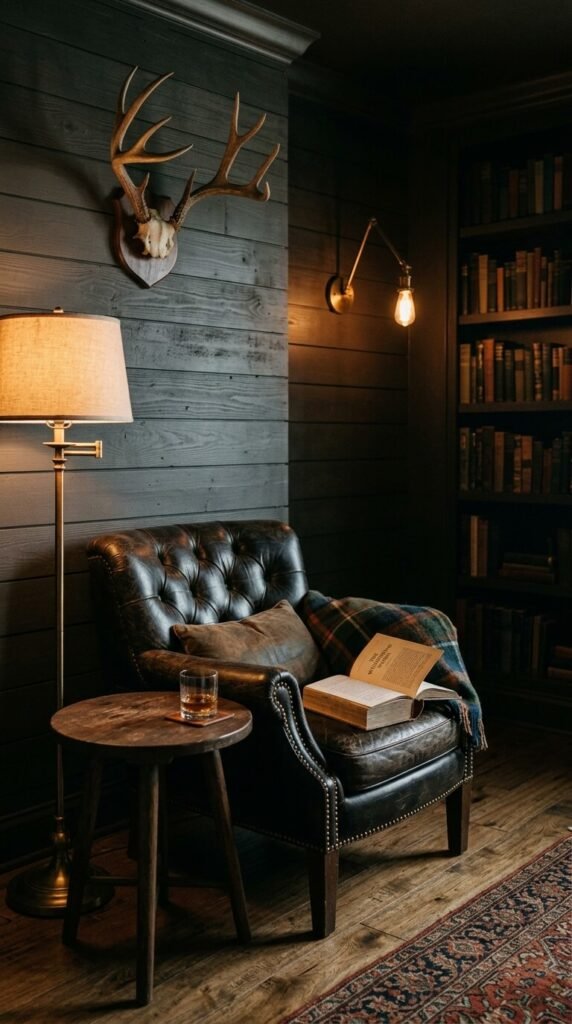
Not all shiplap has to be white. Dark stained or charcoal-painted shiplap creates a completely different mood.
It works especially well in studies, libraries, and media rooms. The rich tone adds depth and makes the room feel intentional.
Pair dark shiplap with warm light sources — Edison bulbs, sconces, or table lamps — to keep the space from feeling cold.
DIY tip: Use a dark walnut or ebony wood stain instead of paint. It lets the grain show through for a more organic, layered look.
14. Shiplap Laundry Room Makeover
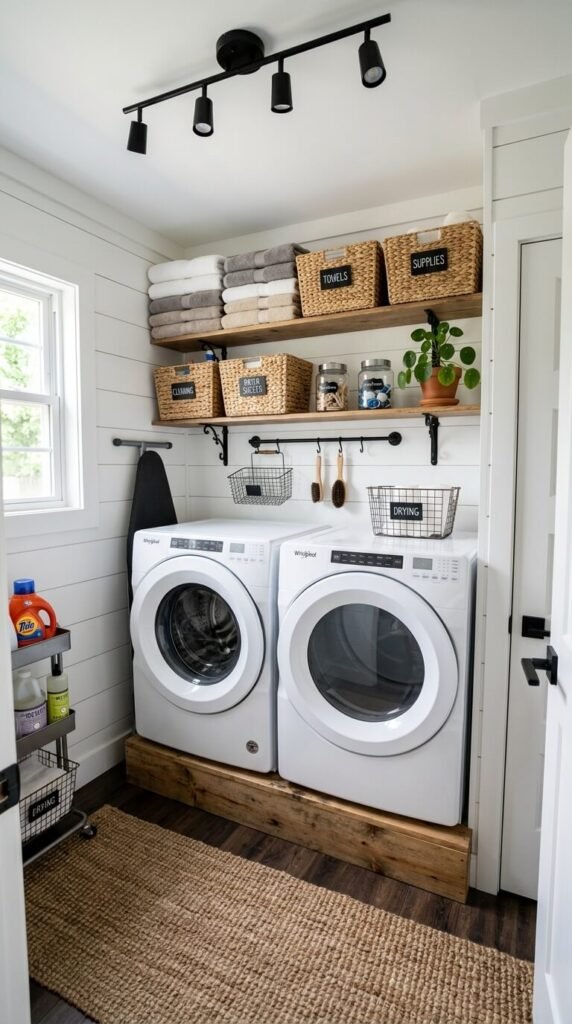
Laundry rooms are often overlooked. Adding shiplap turns a purely functional space into something you actually enjoy walking into.
It pairs perfectly with open shelving, labeled bins, and simple iron hardware. The combination is practical and charming.
Because laundry rooms are small, the material cost is low. Many homeowners complete this project for under $200.
DIY tip: Shiplap covers old tile walls easily. No need to demo — just secure the boards with construction adhesive and finish nails.
15. Shiplap Ceiling Installation
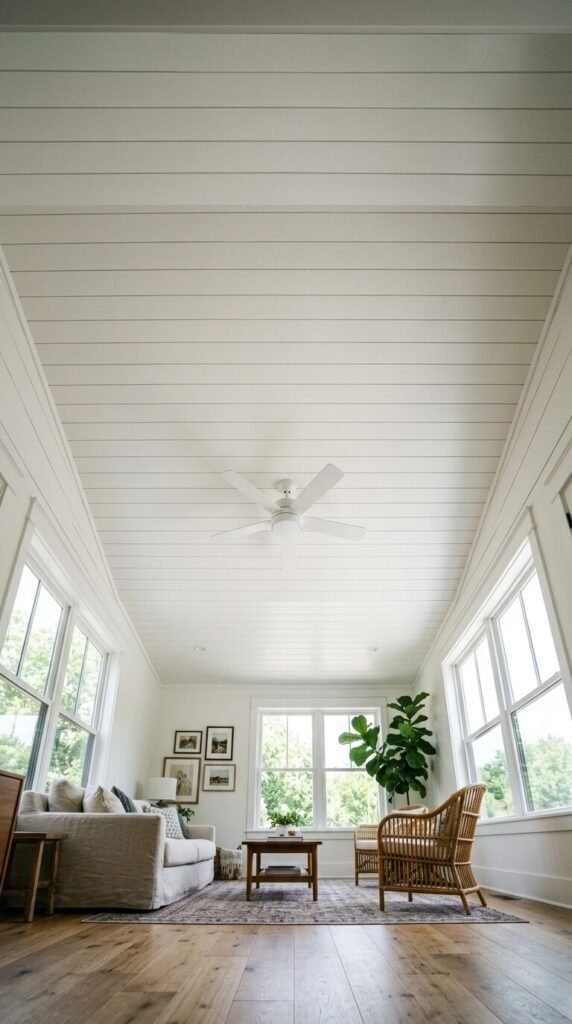
Shiplap ceilings are underused and stunning. Running the boards horizontally across the ceiling adds architectural detail that most rooms completely lack.
It works in any room — living rooms, bedrooms, porches, and sunrooms all look exceptional with a shiplap ceiling.
Use lightweight MDF boards to reduce the strain on ceiling fasteners. Pre-paint them before installation.
DIY tip: Rent a pneumatic nail gun. Hand nailing overhead is exhausting and imprecise. A nail gun makes the job fast and keeps lines tight.
16. Shiplap Porch or Outdoor Covered Ceiling
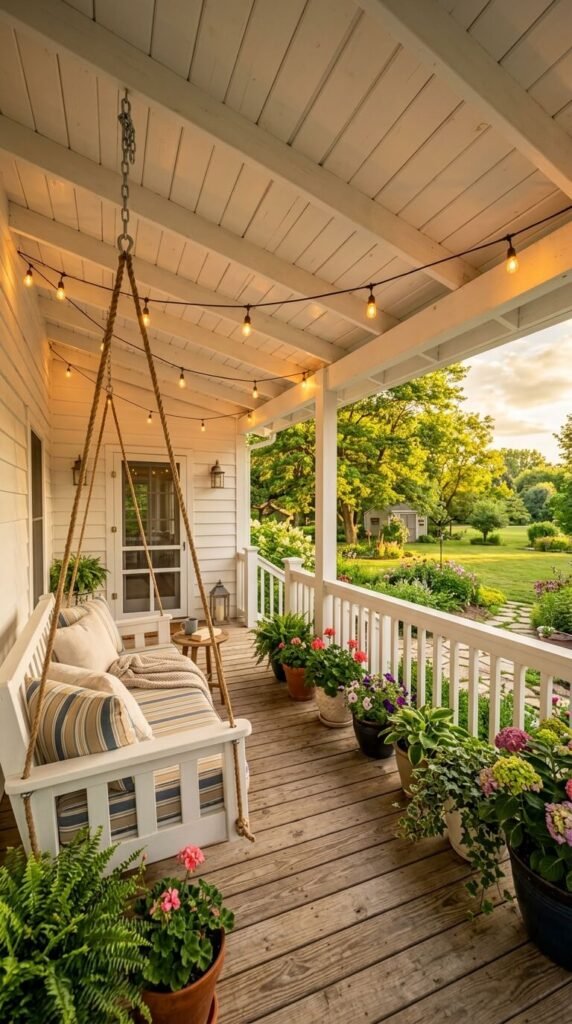
Covered porch ceilings painted in haint blue or crisp white shiplap are a Southern farmhouse staple.
The horizontal boards make the porch ceiling feel finished and intentional. It transforms even a basic builder porch into something special.
Use exterior-grade primed boards and exterior paint. The covered location protects them from direct rain, so they hold up well.
Budget tip: Many lumber yards sell porch ceiling boards cut to width. They require minimal finishing and install quickly.
17. Shiplap Wainscoting with a Chair Rail
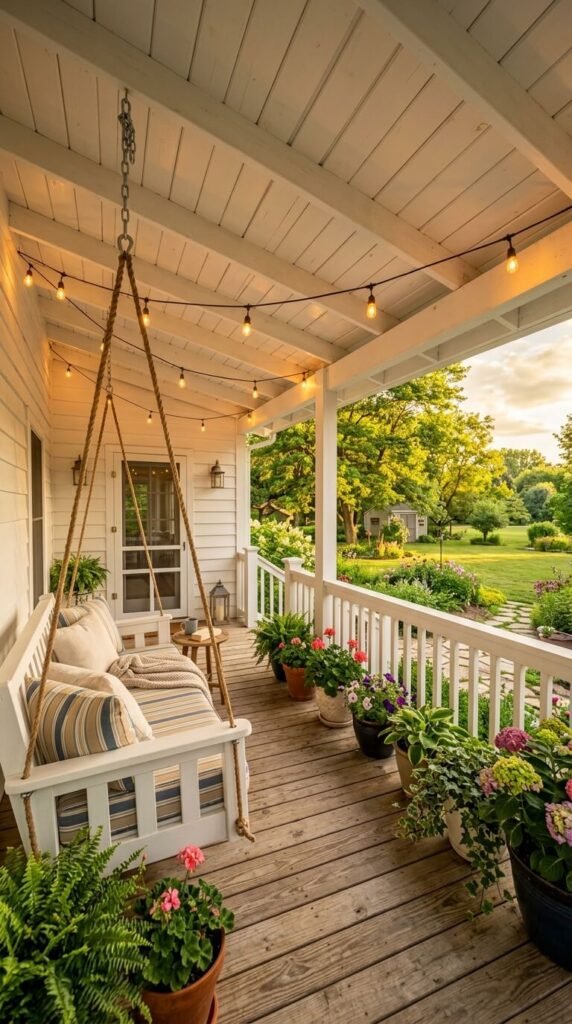
Shiplap wainscoting is one of the most elegant and budget-friendly wall treatments available.
Run boards from the floor to about 36 inches high, then cap with a simple wood chair rail. Paint it white or a warm off-white.
The lower portion protects walls from scuffs and chair backs. The upper wall remains open for art or paint color.
DIY tip: Install the chair rail first using a level. Then cut boards to fit below it. Working top-down gives you cleaner, tighter seams at the rail.
18. Shiplap Breakfast Nook Surround
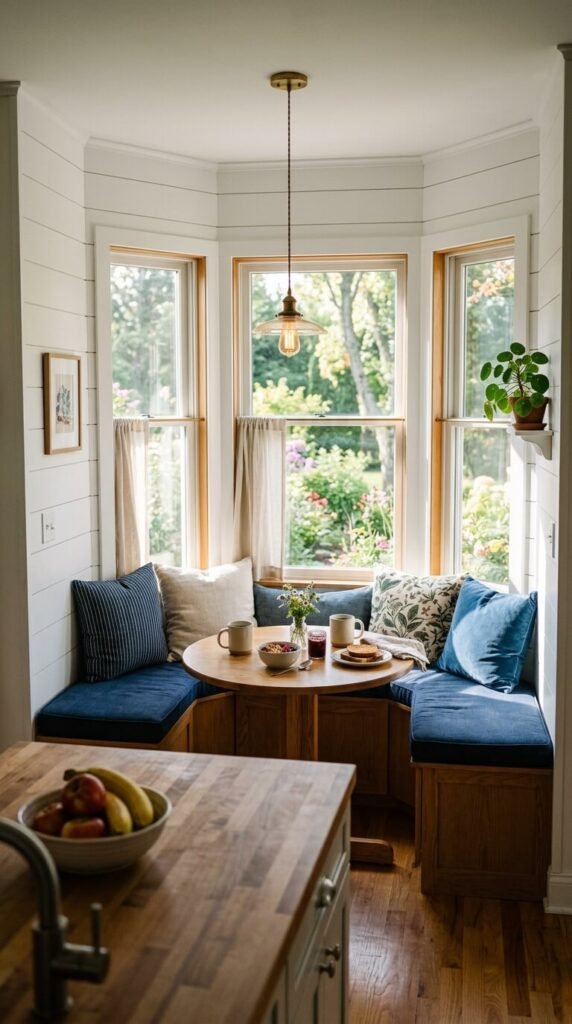
A breakfast nook wrapped in shiplap feels like a little cabin within your home.
The boards on three walls create a sense of enclosure that makes the spot feel cozy and purposeful. Add a cushioned built-in bench and a pendant light for a finished look.
This is one of the most beloved DIY shiplap projects because the small scale keeps it manageable and affordable.
Budget tip: Frame a simple plywood box for the bench seat first. Install shiplap over the front panel for a built-in look that costs a fraction of custom millwork.
19. Shiplap Behind Open Kitchen Shelving
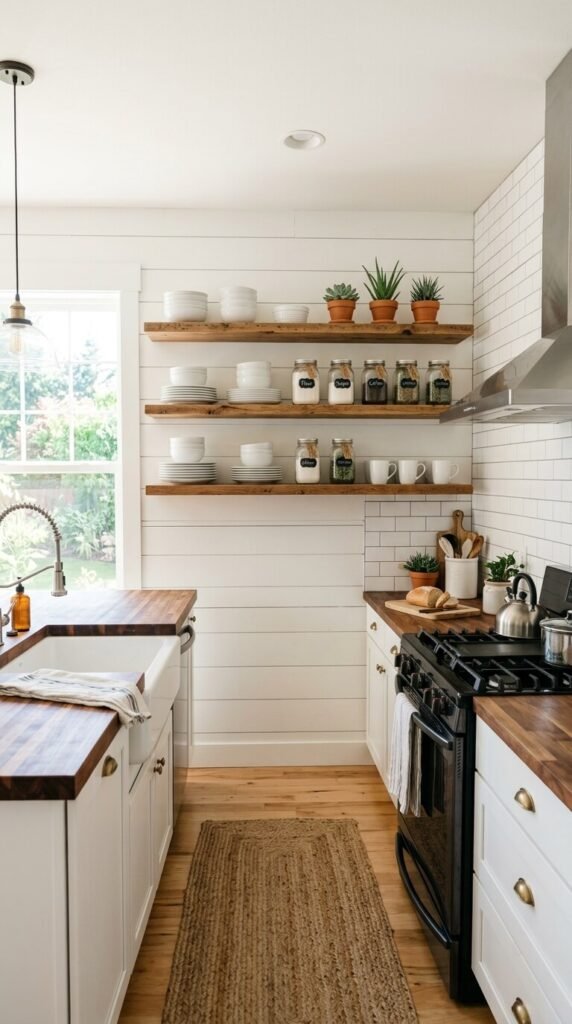
Open shelving looks its best when the wall behind it has texture and character. Shiplap is the perfect backdrop.
The horizontal lines fill the negative space between shelves. The wall looks styled even when shelves are not fully loaded.
Use white shiplap with natural wood floating shelves for a classic warm farmhouse combination.
DIY tip: Install floating shelf brackets into studs. Then add the shiplap around the bracket hardware so the shelves appear to float directly from the boards.
20. Vertical Shiplap for a Modern Take
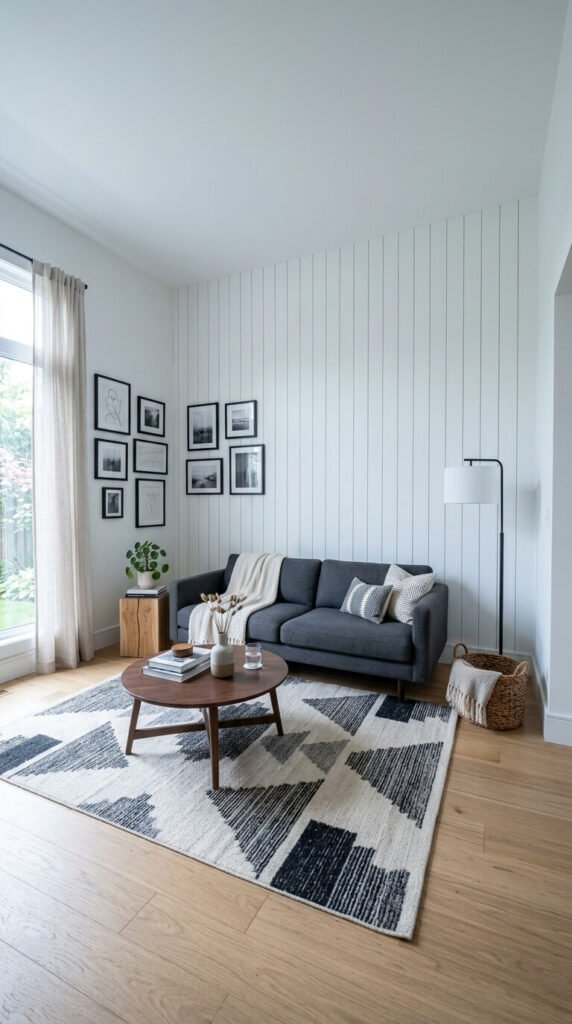
Running shiplap vertically instead of horizontally creates a taller, more modern look.
It draws the eye upward, making ceilings feel higher. This works especially well in rooms with lower ceilings or in spaces with a more contemporary style.
The installation technique is the same. Just rotate your reference line from horizontal to vertical.
Design tip: Use slightly narrower boards — 4-inch instead of 6-inch — for vertical installations. They look more refined and less barn-like in a modern setting.
21. Shiplap Mudroom Bench with Board and Batten Combo
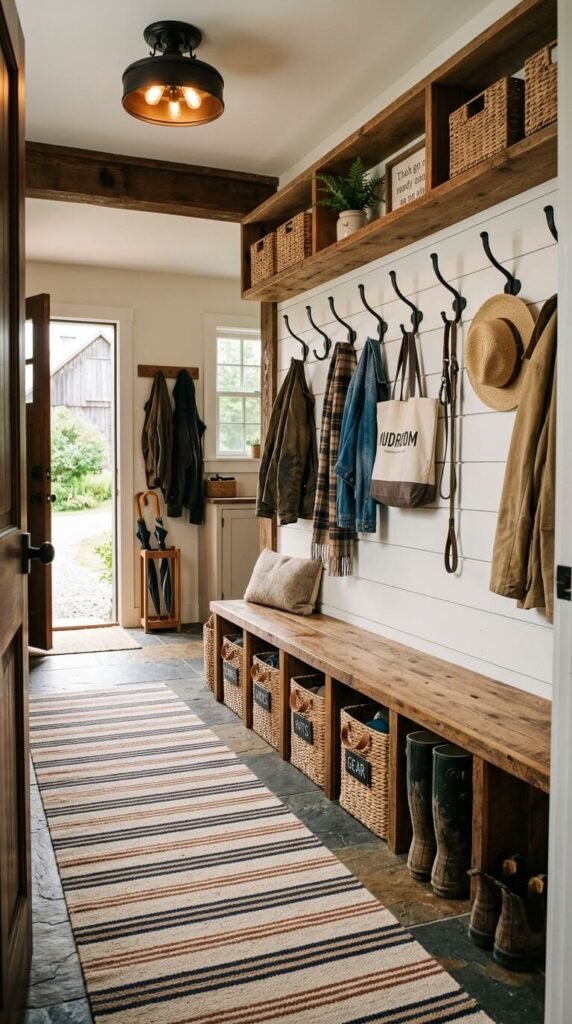
Combining shiplap upper walls with a board and batten lower half gives a mudroom a layered, custom feel.
The two textures play well together. Shiplap above the hooks provides a clean backdrop for coats and bags. Board and batten below the bench adds structure.
Both treatments use the same basic materials — wood strips, paint, and nails — so the combined cost stays manageable.
DIY tip: Paint both treatments the same white for a seamless look, or go white shiplap above and navy or sage below for a bold two-tone contrast.
22. Shiplap in a Sunroom or Three-Season Porch
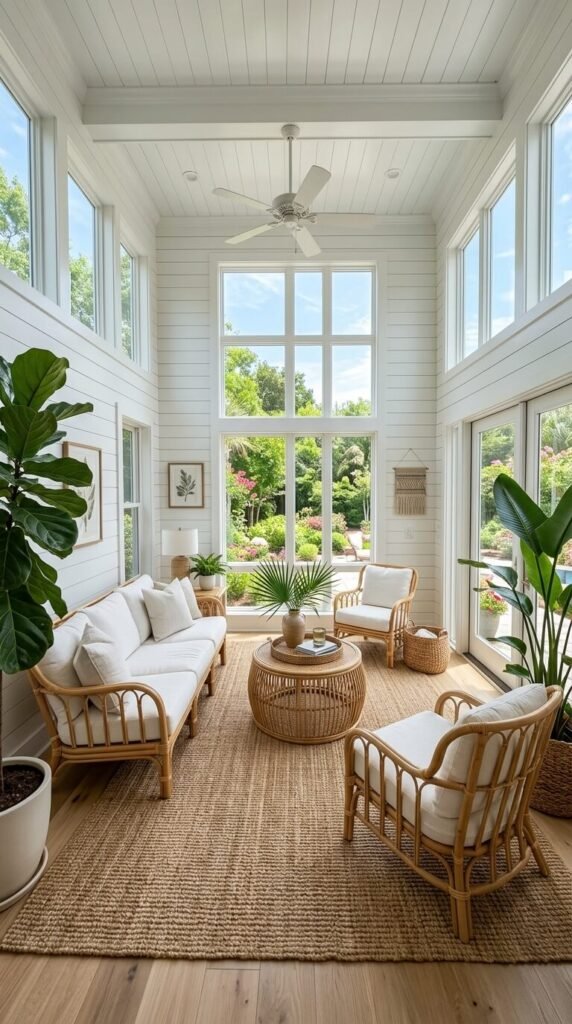
Sunrooms are built to feel relaxed and connected to the outdoors. Shiplap walls reinforce that feeling perfectly.
The natural wood character, even when painted, keeps the space from feeling too polished or formal.
Use moisture-resistant boards if the room experiences temperature swings. PVC shiplap or sealed pine holds up best in these conditions.
Design tip: Keep the floor natural — stone tile, slate, or weathered wood — to complement the shiplap’s organic texture without competing with it.
23. Shiplap Around a Barn Door
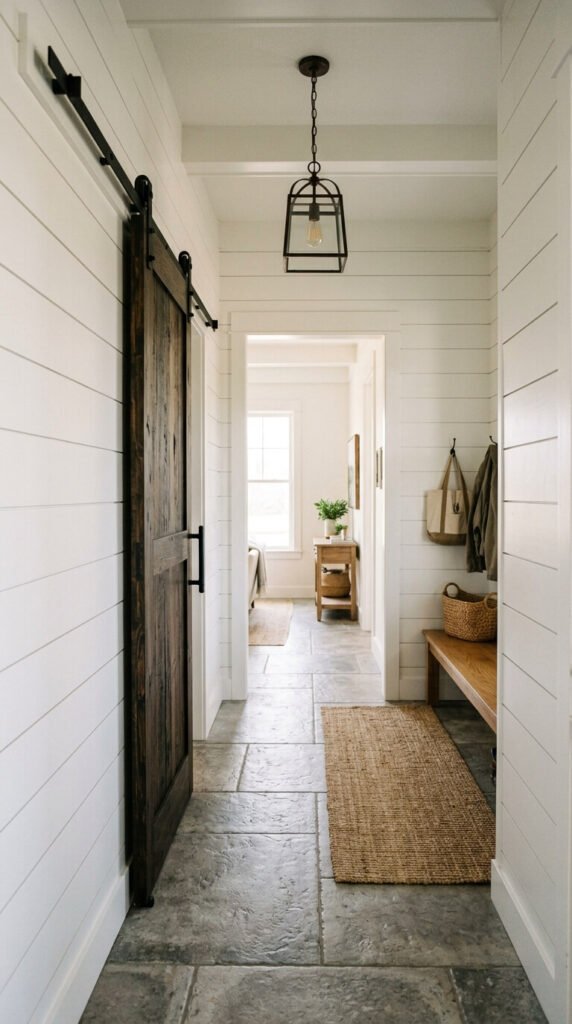
Barn doors and shiplap were practically made for each other. The combination doubles down on the farmhouse aesthetic in the best way.
Install the shiplap wall first, then mount the sliding barn door track hardware directly into the studs through the boards.
The horizontal lines create a strong backdrop that makes the dark wood door pop visually.
Budget tip: Unfinished barn doors run $150–$300 at most home centers. Stain them yourself with a dark walnut finish and add black iron hardware for a custom look at half the custom price.
24. Painted Colored Shiplap for a Playful Twist
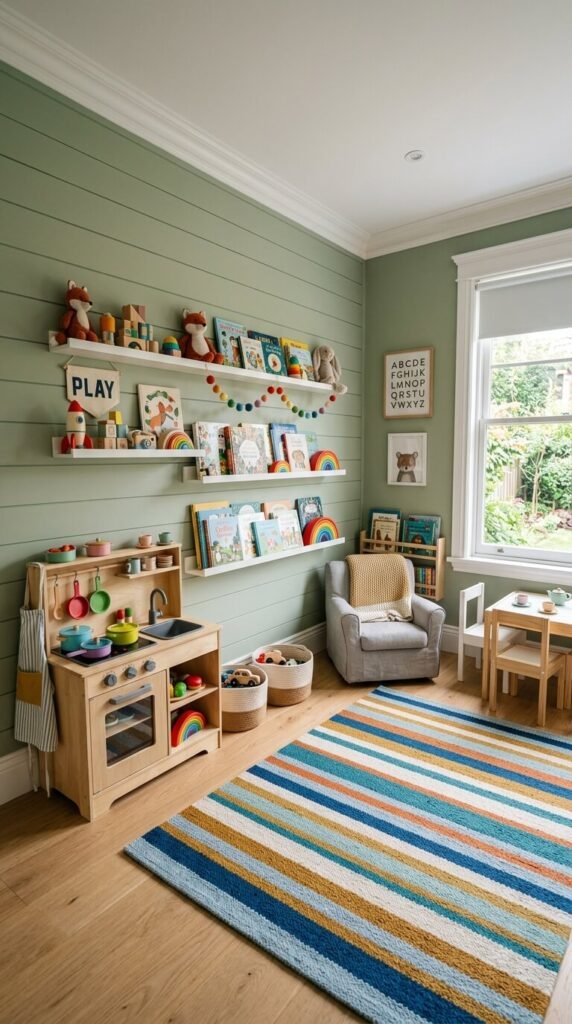
White is the default — but shiplap in color is a seriously underrated design move.
Sage green, navy, dusty blue, or warm terracotta all look stunning on shiplap boards. The texture adds depth that flat paint on drywall simply cannot achieve.
This works especially well in kids’ rooms, kitchens, and bathrooms where you want a pop of personality without wallpaper.
Design tip: Keep the trim, baseboards, and ceiling white. The contrast makes the colored shiplap look intentional and sharp.
25. Shiplap TV Feature Wall with Built-In Shelving
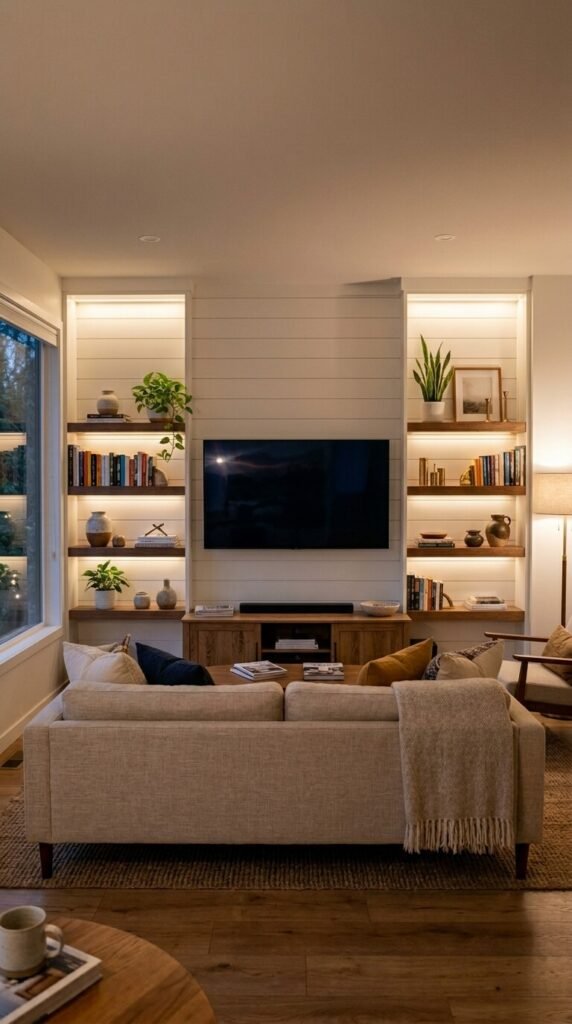
A shiplap TV wall is the most functional accent wall you can build. It serves as a media wall and a display wall at the same time.
Mount the TV flush to the shiplap. Run the power cord and cables inside the wall before the boards go up for a completely clean, cord-free look.
Built-in floating shelves on either side use the same studs as the shiplap for a seamless, custom-built appearance.
DIY tip: Install an in-wall cable management kit before hanging shiplap — they cost about $20 and make a dramatic difference in how finished the final result looks.
Conclusion
Shiplap walls are one of the most accessible and rewarding home upgrades available. You do not need a contractor or a large budget. You need a level, a saw, a nail gun, and a free weekend. Whether you tackle a single accent wall behind your bed or wrap an entire room in boards, the result is a home that feels warmer, more grounded, and more distinctly yours. Start small if you are nervous — a bathroom or entryway wall is manageable in a day. Then watch how quickly you want to do the next one. The farmhouse appeal of shiplap is not a trend. It is a timeless design choice that keeps earning its place in homes of every style.