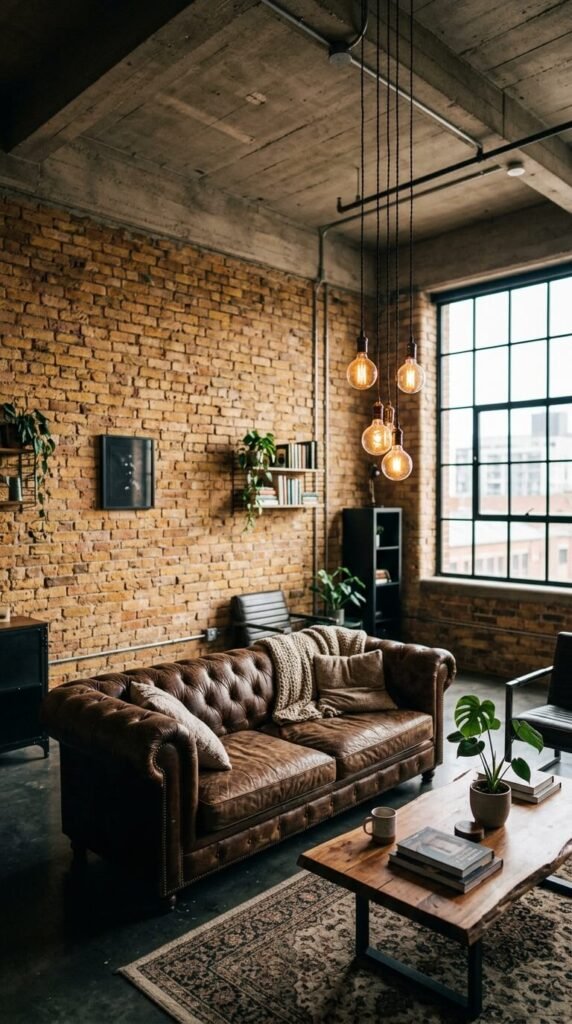
Exposed brick accent walls carry a kind of honest beauty that no wallpaper or paint can fake. The texture, the variation in color, the raw imperfection — it all adds something real to a room. Whether you live in an old building with original brickwork or you’re starting from scratch in a new build, there are dozens of ways to treat a brick wall that range from completely free to surprisingly affordable. This guide walks you through 27 distinct approaches — from sealing raw brick to painting it, lighting it, and styling around it — so you can find what works for your space, your budget, and your taste.
1. Seal the Raw Brick and Leave It Alone
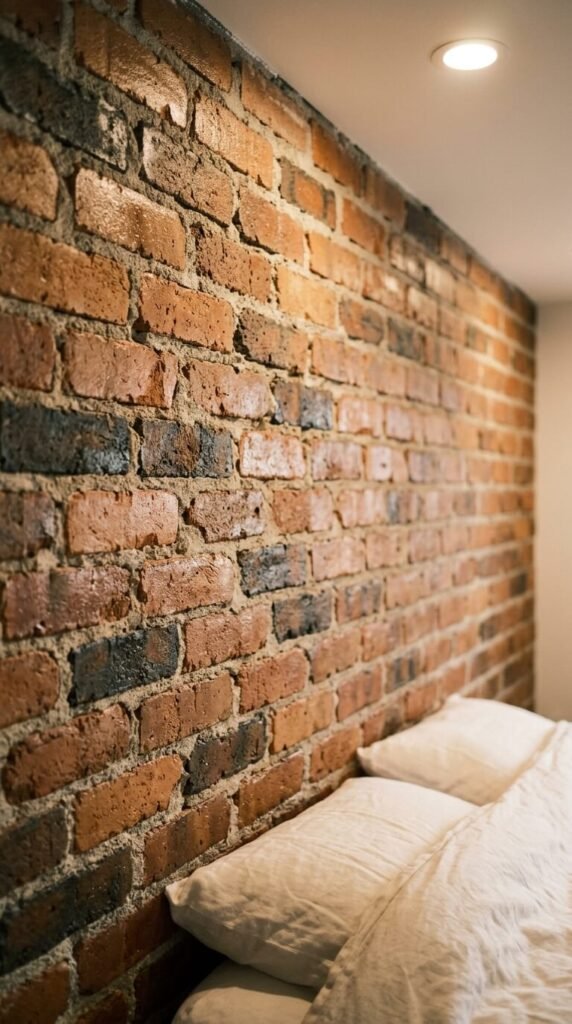
Sometimes the best move is no move at all. Raw brick sealed with a matte masonry sealer keeps the original look while stopping dust, moisture, and crumbling mortar from spreading into your room. A gallon of masonry sealer runs about $20–$40 and covers a large wall easily. Apply it with a roller in two coats. It dries nearly invisible. The brick keeps its texture and natural color. This works especially well in older homes with original brick. It’s the lowest-effort treatment with a high visual payoff.
2. Whitewash for a Soft, Airy Finish
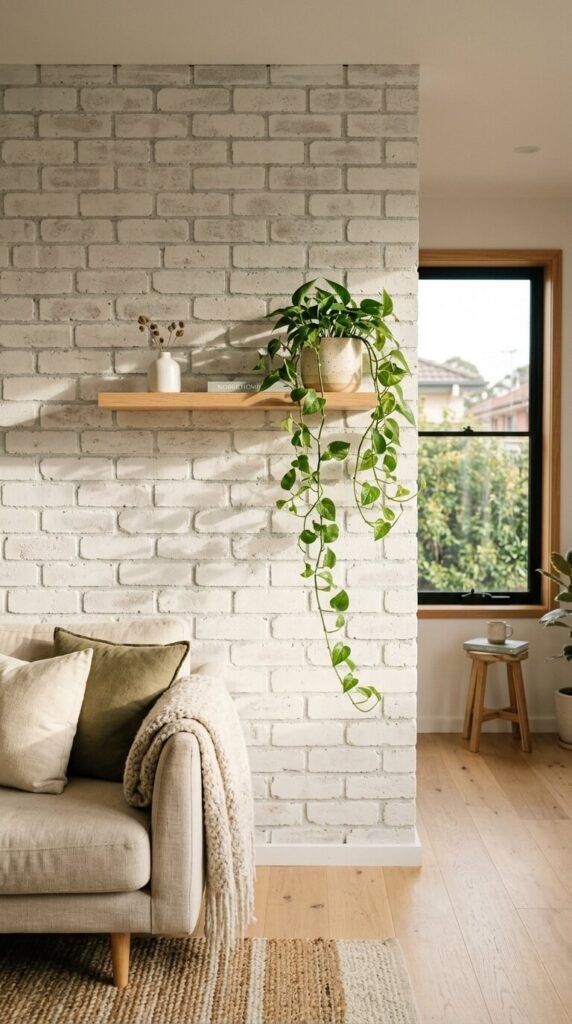
Whitewashing is one of the most popular DIY brick treatments — and for good reason. Mix one part white latex paint with one part water, then brush it directly onto the brick. The thinned paint soaks into the surface unevenly, letting the natural texture show through. The result is soft and light without covering the brick completely. You control the opacity by adding more coats. Total cost: under $15 if you already have leftover paint. It works beautifully in cottages, farmhouses, and coastal-style rooms.
3. German Smear for a Rustic, Old-World Look
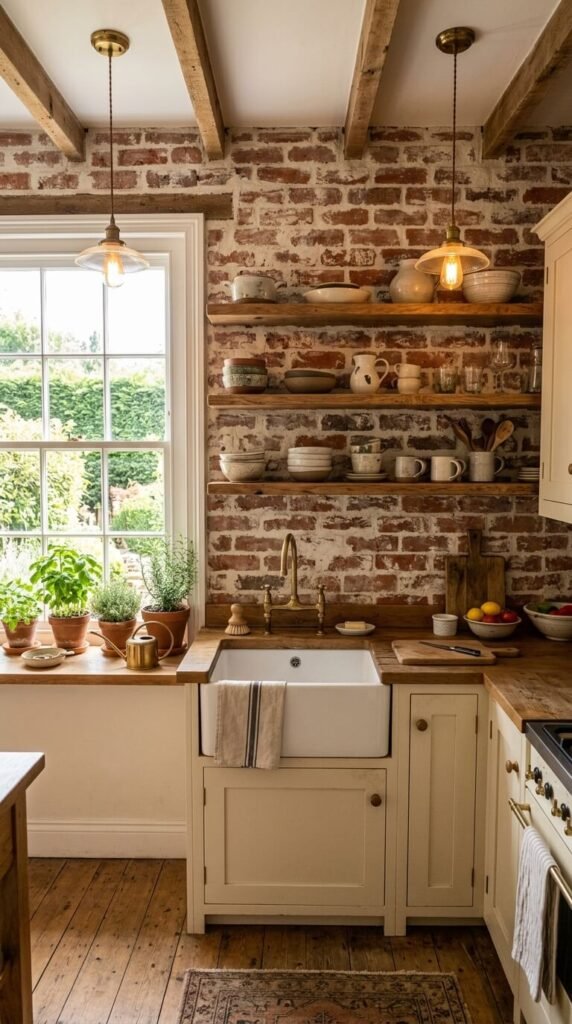
German smear (or mortar wash) gives brick a thick, chunky, plaster-like texture that looks like it belongs in a centuries-old European cottage. You apply wet mortar directly to the brick with a gloved hand or stiff brush, then wipe and smear it before it dries. The result is chunky and irregular — in the best way. Once dry, it’s permanent. It costs about $10–$20 in materials and works best on red or orange brick. It dramatically changes the wall’s character. Perfect for rustic kitchens or traditional living rooms.
4. Paint It a Bold, Dark Color
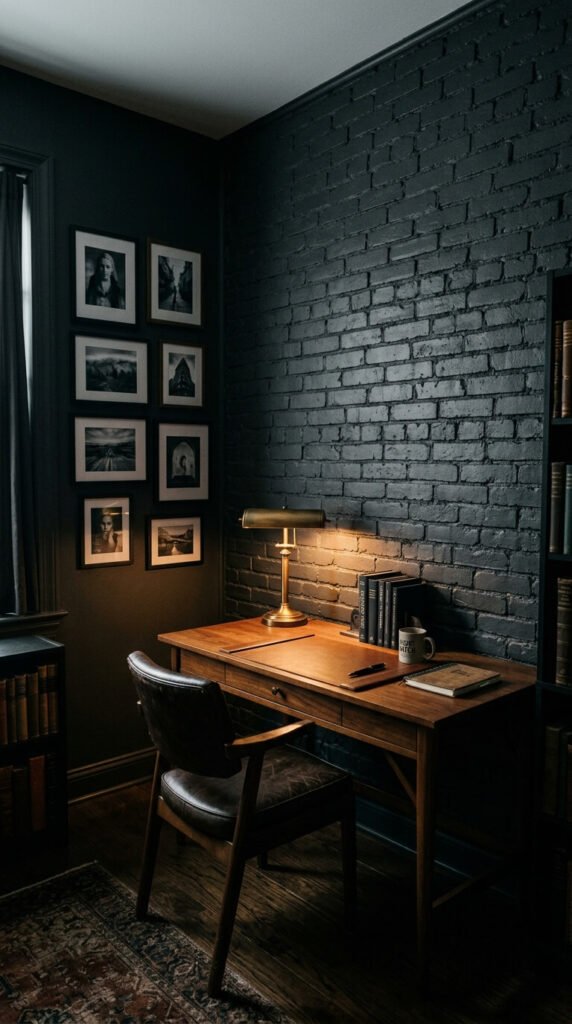
Painting brick a deep, dark color — charcoal, navy, forest green, or black — creates a dramatic focal point that still shows off the texture underneath. Use a masonry primer first so the paint bonds well. Then apply two coats of interior masonry paint with a thick nap roller to work paint into the mortar lines. Dark-painted brick looks stunning in home offices, dining rooms, and bedroom feature walls. A quart of quality paint costs around $15–$25. The texture stays visible, which keeps it from looking flat or boring.
5. Limewash for an Aged, European Patina
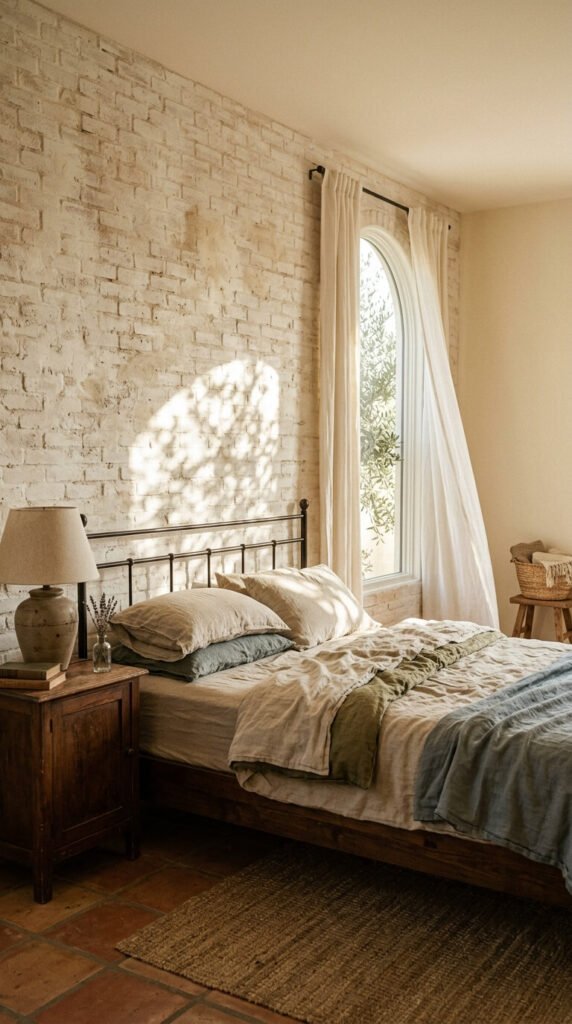
Limewash is different from regular paint. It’s made from crushed limestone mixed with water and it soaks into porous brick rather than sitting on top. The result looks ancient, chalky, and slightly uneven — like a villa wall in southern Italy. Pre-mixed limewash costs $40–$70 per gallon. Apply with a natural-bristle brush using circular strokes, then wipe back with a damp cloth while wet. Each section looks different, which is the whole point. Great for living rooms, bedrooms, and dining spaces with a warm, old-world feel.
6. Use Brick Veneer Panels as a Shortcut
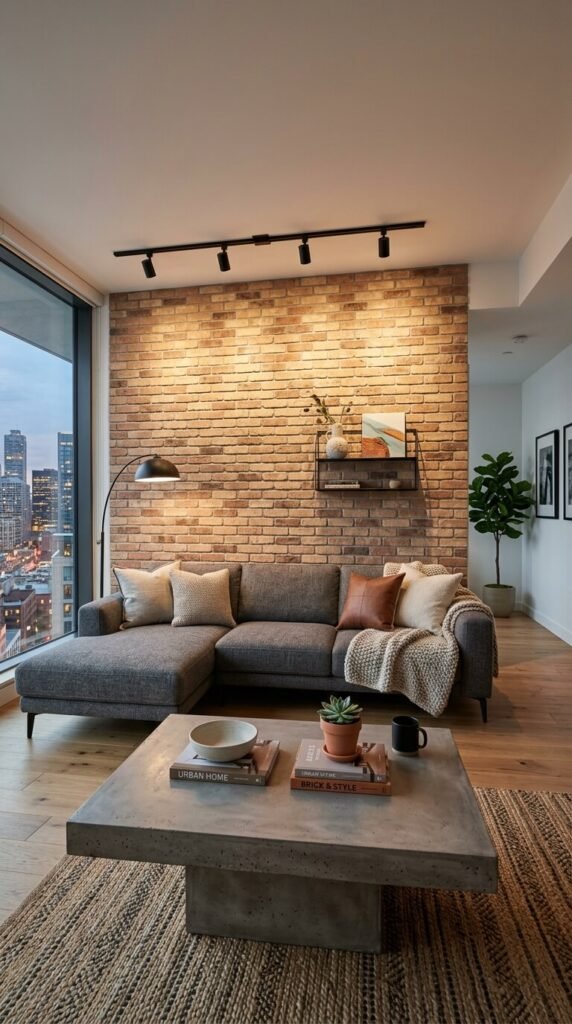
If you don’t have real brick, faux brick veneer panels are a smart workaround. These thin panels are made from real brick slices or cast concrete and glue directly onto drywall. They look convincing, especially from a few feet away. Panels run about $3–$8 per square foot. No demo needed. No structural work. You cut them with a saw and apply construction adhesive. Grout the joints with a grout bag after installation. It’s a weekend DIY project that transforms a flat wall into something with real visual weight and texture.
7. Expose Brick Behind Plaster with Selective Demo
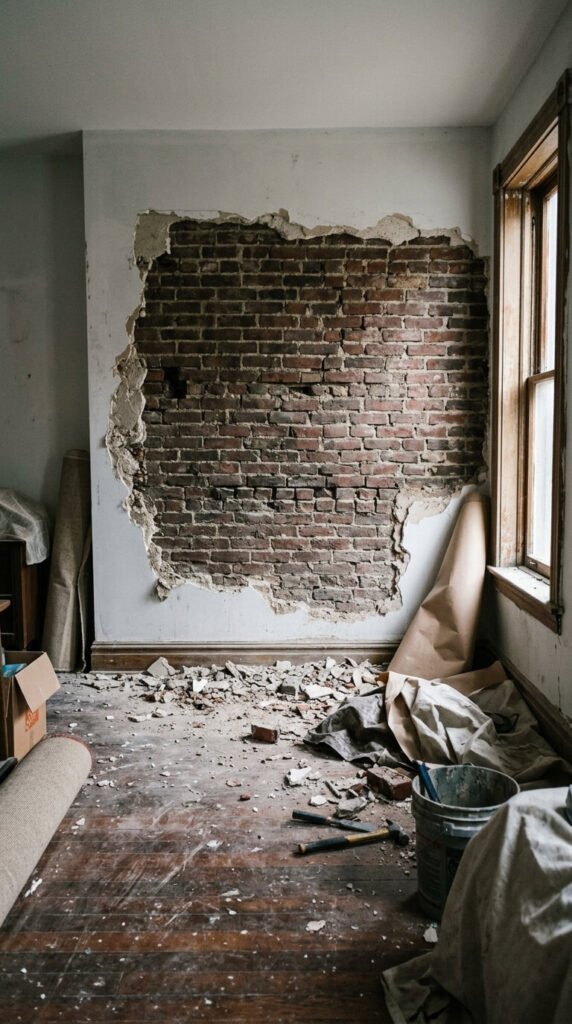
In older homes — especially pre-1950s builds — brick often hides behind plaster walls. Selective demolition means carefully chipping away plaster to expose the brick in one area only. Use a cold chisel and hammer or a rotary tool. Work in a small test patch first. Wear a dust mask. Once exposed, brush off loose debris, vacuum, and seal the brick. The exposed section becomes an organic, unplanned accent wall. This is essentially free if you’re comfortable with basic demo work. The imperfect edges just add to the authenticity.
8. Add a Floating Wood Shelf Directly on Brick
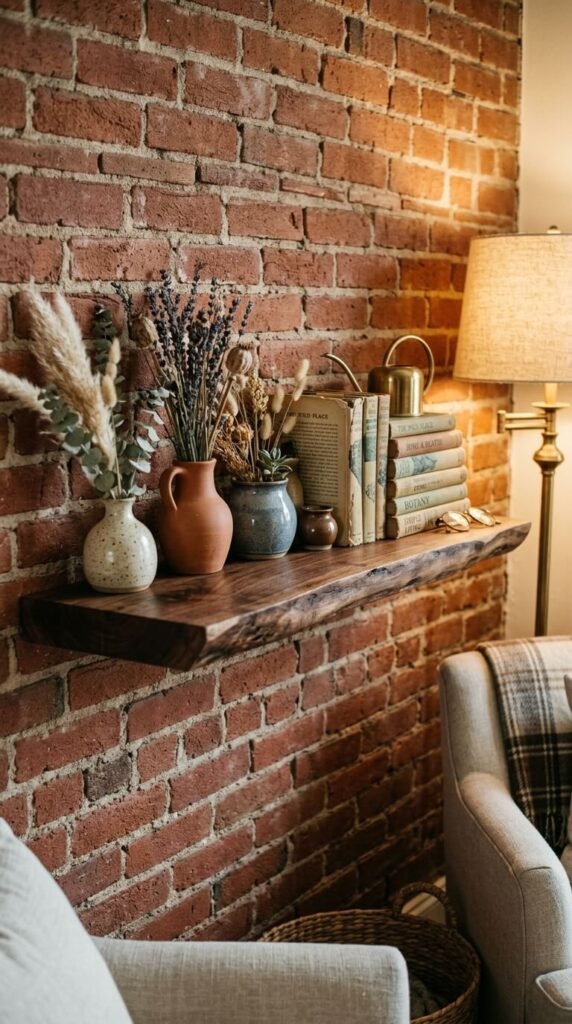
A single floating wood shelf mounted on brick does two things at once: it adds storage and frames the brick as an intentional design choice. Use a masonry drill bit and anchor bolts to mount the shelf bracket directly into the brick. Reclaimed wood looks especially good against raw brick texture. A basic shelf setup costs $30–$80 depending on the wood. Style the shelf with plants, books, candles, or ceramics. The contrast between the soft organic shelf and rough brick behind it is a natural visual pairing.
9. Install Picture Lights to Highlight the Texture
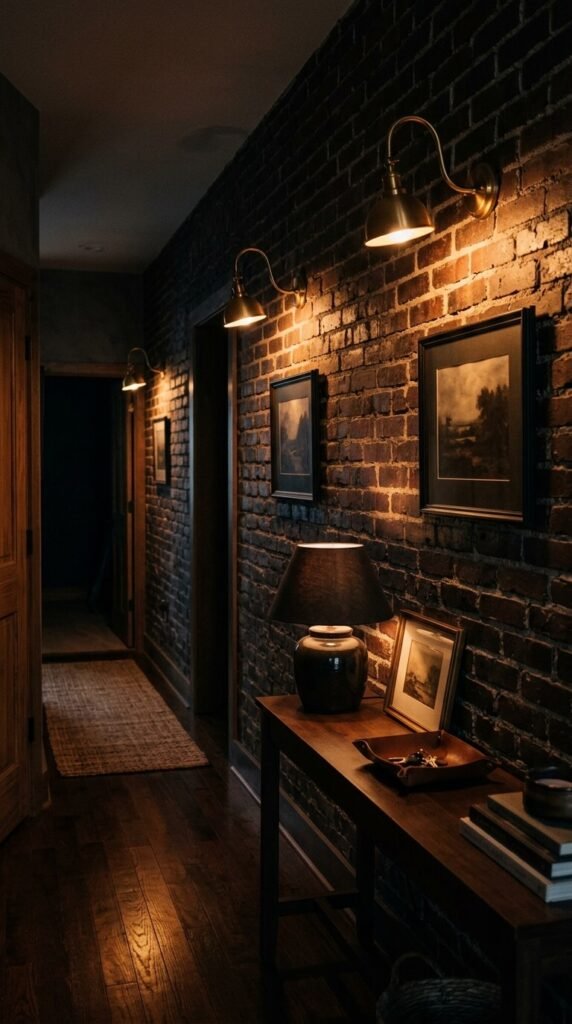
Brick walls have natural texture that almost disappears under flat overhead lighting. Picture lights or wall-wash sconces positioned above or beside the wall cast light at an angle that rakes across the surface, making every ridge and mortar line pop. Battery-operated LED picture lights cost as little as $20–$40 and require no wiring. Plug-in sconces give a similar effect with a cord you can manage against the wall. At night, the effect is genuinely dramatic. The same wall looks completely different under angled light versus flat overhead light.
10. Frame the Brick Wall with Painted Wood Trim
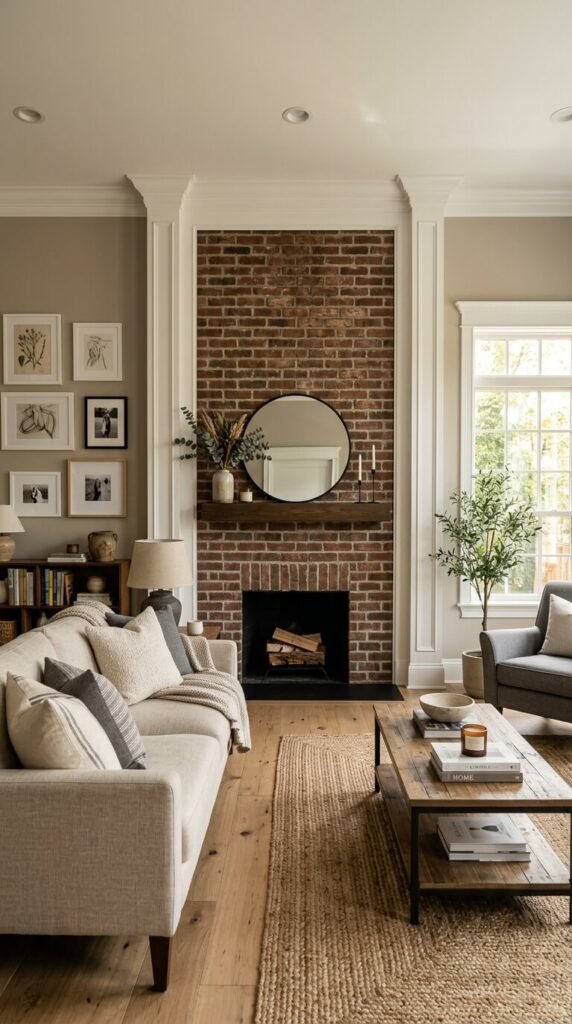
Raw brick edges look accidental. Adding painted wood trim around the perimeter of your brick wall makes it look intentional and finished. Use 3-inch flat molding painted white or a contrasting color. The trim frames the brick like a giant artwork. This also helps if your brick doesn’t run all the way to the ceiling or corners — the trim covers the transition cleanly. Molding costs about $1–$3 per linear foot. Cut with a miter saw for clean corners. It takes one Saturday and dramatically improves how polished the wall looks.
11. Mount a Large Mirror Against the Brick
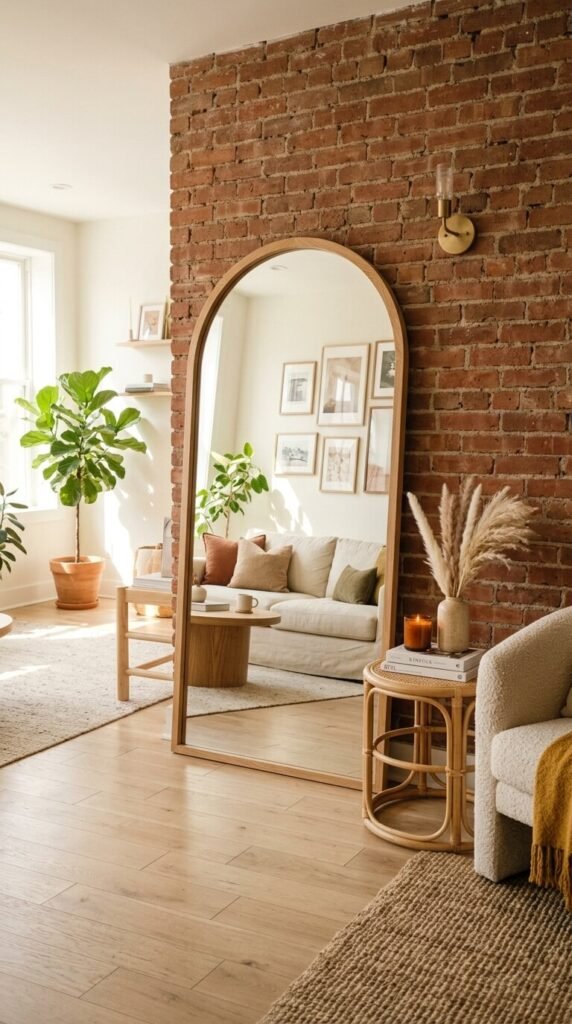
Leaning or mounting a large mirror against brick is one of the fastest ways to make a room feel bigger and more dynamic. The brick reflects behind the mirror and through it, adding depth. Lean an arch mirror directly on the floor against the wall — no drilling needed. Or mount a round mirror using masonry anchors. Mirrors in various sizes run from $40 to a few hundred dollars depending on size and frame. Choose a simple frame that doesn’t compete with the brick texture. Gold, black, or raw wood frames all work well.
12. Hang Woven Textiles and Tapestries for Warmth
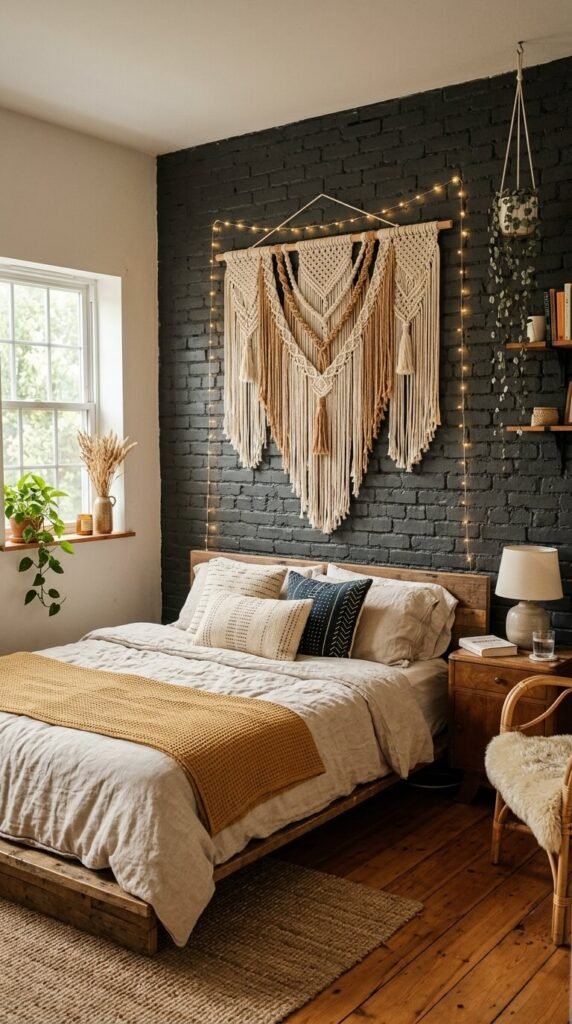
Brick is hard and cool. Woven textiles, macramé, or tapestries add warmth and softness that balances the room. You can hang a textile directly on brick using a small masonry nail or a tension rod in a nearby doorway. Large macramé pieces on Etsy or at home stores run $40–$150. DIY macramé kits cost even less. The contrast between rough brick and soft fiber creates a layered, collected look. This works especially well in bedrooms and reading nooks where warmth and comfort matter more than sleekness.
13. Apply a Tinted Masonry Stain
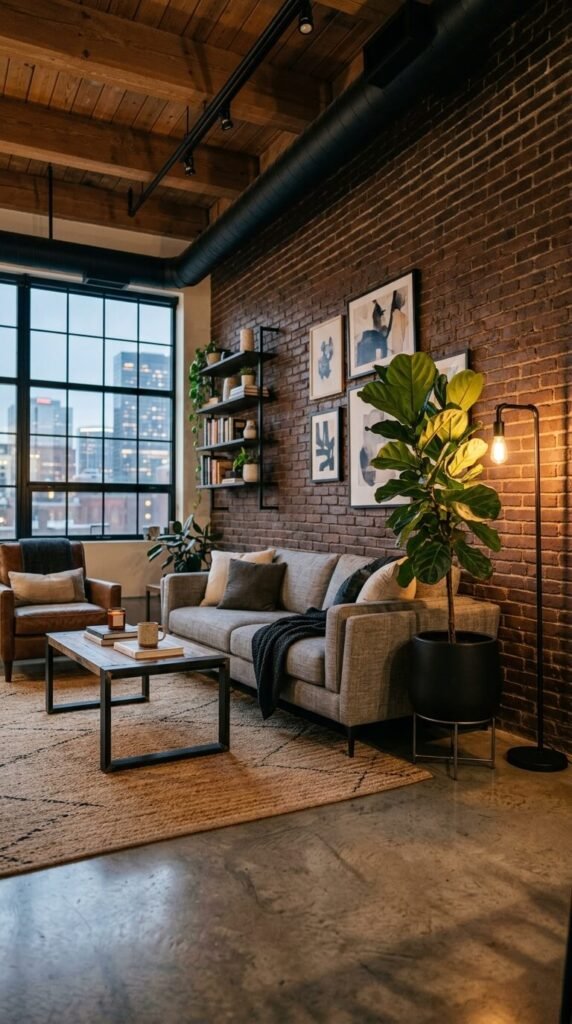
Masonry stain is different from paint — it penetrates the brick surface rather than coating it, so the texture and natural variation stay fully visible. Stains come in browns, grays, reds, buffs, and tans. They’re semi-permanent and won’t peel like paint over time. A gallon of masonry stain costs about $30–$60 and goes a long way. Apply with a brush or roller. You can deepen or warm the existing brick color without dramatically changing it. Great for brick that’s faded, stained unevenly, or just looks a little flat and lifeless.
14. Create a Brick-Framed Niche or Alcove
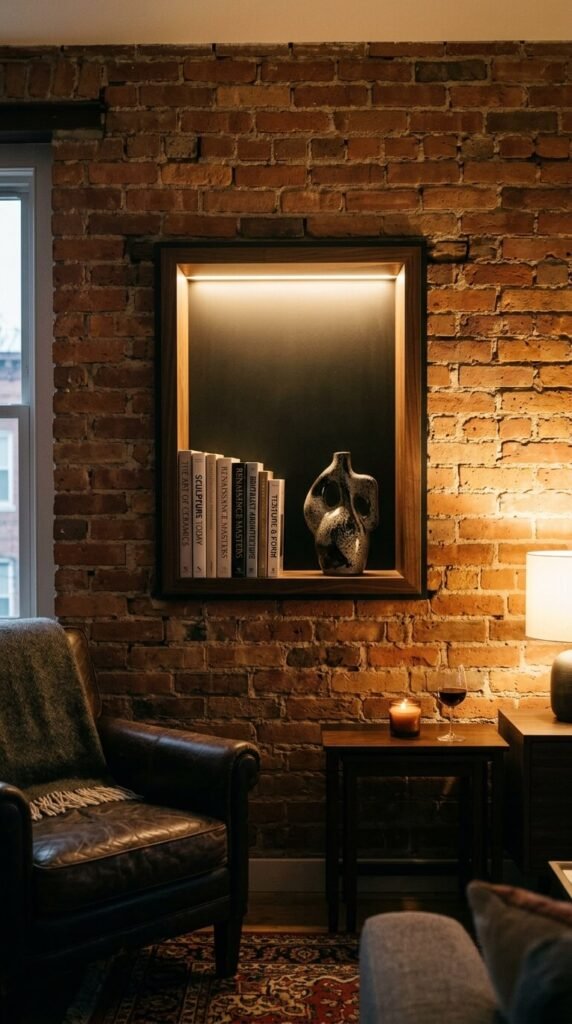
If you’re renovating, consider building a recessed niche directly into a brick wall. This works with non-load-bearing walls and creates a built-in display shelf that feels architectural. Line the interior of the niche with wood or tile for contrast. Use LED strip lights inside to make it glow. Even a shallow 6-inch-deep niche adds enormous visual interest. This is a bigger project — typically $200–$800 depending on size and trades involved — but the result is a one-of-a-kind focal point that looks custom-built and expensive.
15. Use Edison Bulb String Lights Along the Wall
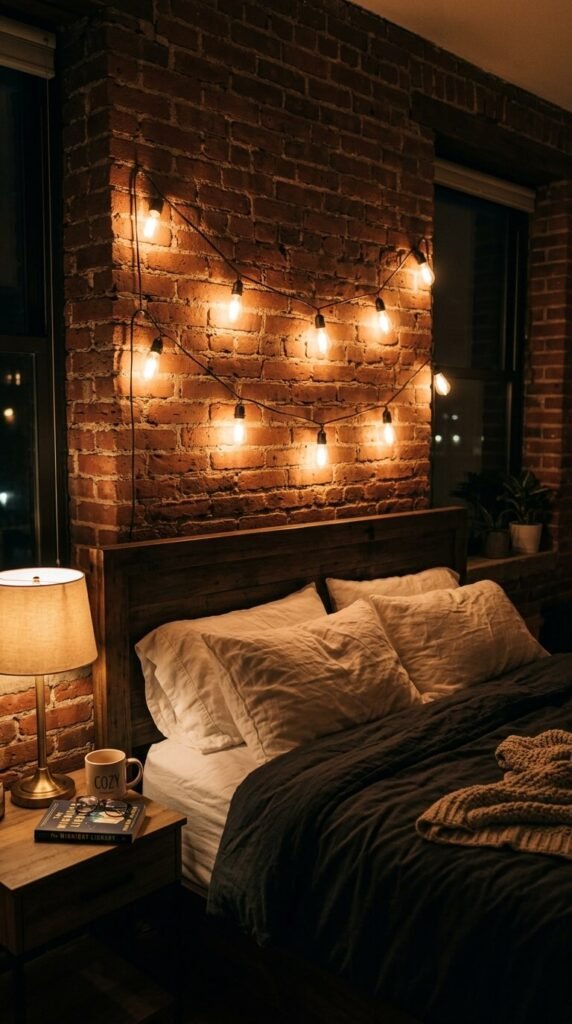
Edison bulb string lights draped or stapled along a brick wall create an almost instant transformation at night. The warm filament glow rakes across the brick surface and highlights its depth. Use small cable clips or adhesive hooks rated for masonry to run the lights horizontally across the wall. String lights cost $15–$40 for a good set. Plug into a nearby outlet. A simple timer makes the effect automatic each evening. This works best in bedrooms, living rooms, and dining spaces where you want a warm, relaxed nighttime atmosphere.
16. Paint a Mural or Graphic Directly on the Brick
Painting directly on brick doesn’t have to mean covering it. A loose, graphic mural — line art, botanicals, abstract shapes — painted over sealed brick keeps the texture alive while adding illustration. Use exterior or chalk paint and a round artist’s brush. Sketch lightly with chalk first, then paint over it. Mistakes wipe off before the paint dries. This is a free or nearly free project if you have leftover paint. It turns a plain brick wall into a genuine piece of art that no one else has. Great for creative spaces, kids’ rooms, and studios.
17. Install Reclaimed Wood Panels Alongside the Brick
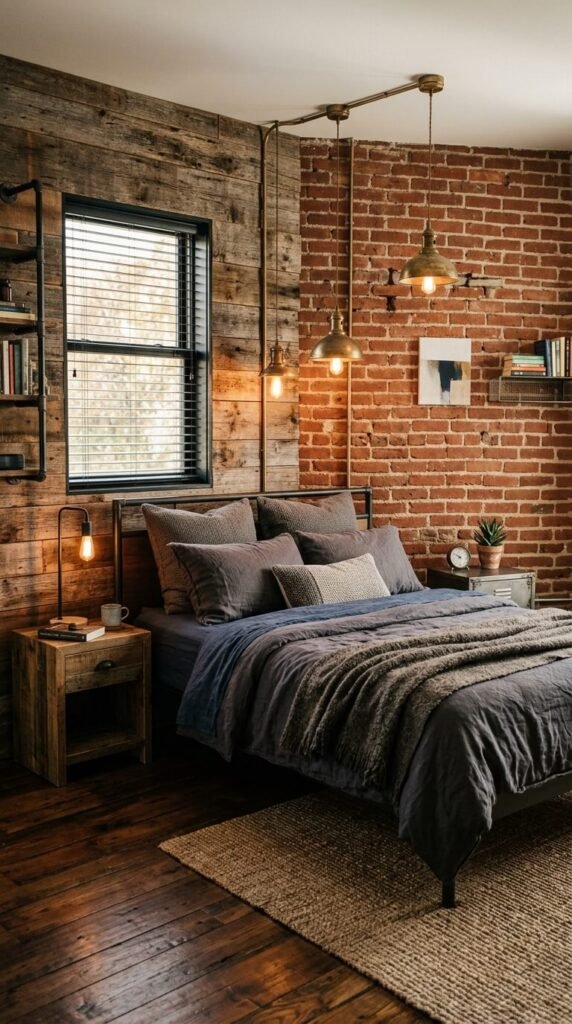
Pairing brick with reclaimed wood paneling on an adjacent wall creates a layered, highly textural space that feels collected and grounded. Install reclaimed barn wood planks horizontally on the wall next to your brick using construction adhesive and finish nails. Reclaimed wood boards typically run $2–$5 per square foot at salvage yards. The two natural materials — rough stone and aged wood — have a natural affinity. Neither competes with the other. Together they tell a story of age and craft that modern materials simply can’t replicate.
18. Add Industrial Pipe Shelving on the Brick
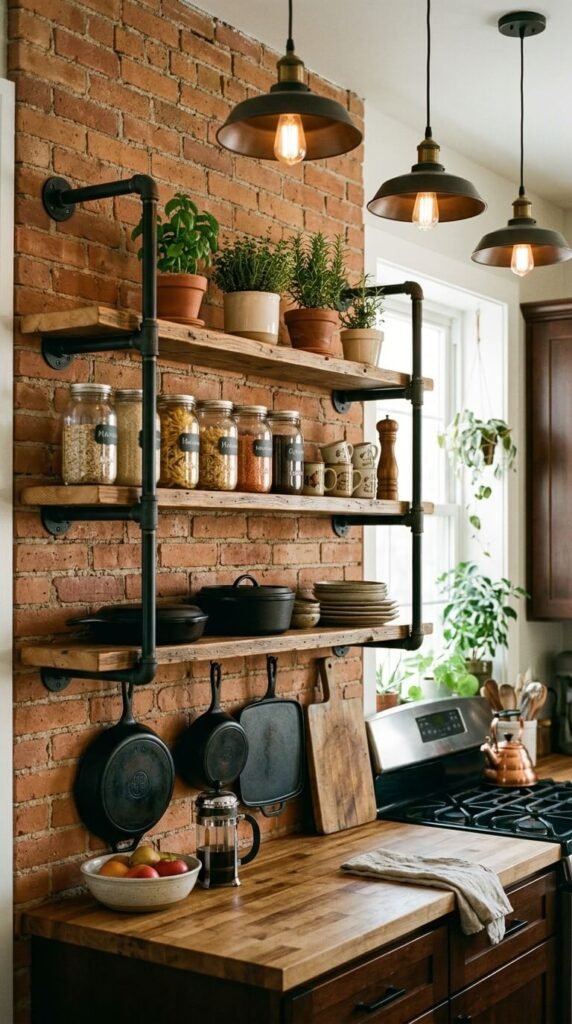
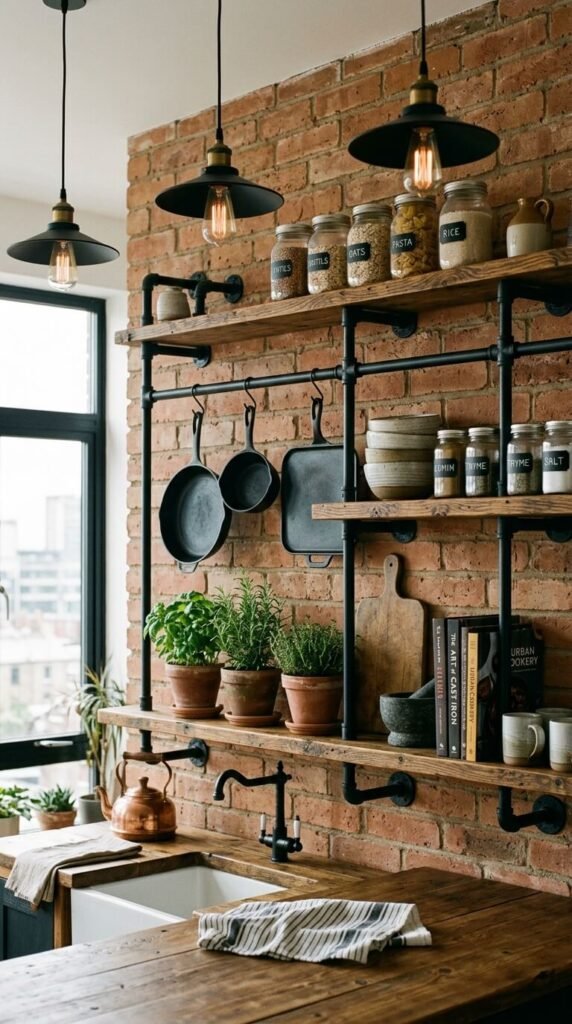
Black iron pipe shelf brackets mounted directly into brick are one of the most satisfying DIY projects for an exposed brick wall. The industrial hardware looks completely at home against raw brick. Use masonry anchors rated for the shelf weight, drill into the mortar lines rather than the brick face to avoid cracking, and mount the pipe brackets. Then rest a wood plank on top. Total cost for a basic single shelf: $40–$80. You get functional storage and a styling surface that looks like it came from an expensive boutique hotel.
19. Use Chalkboard Paint on Part of the Brick Wall
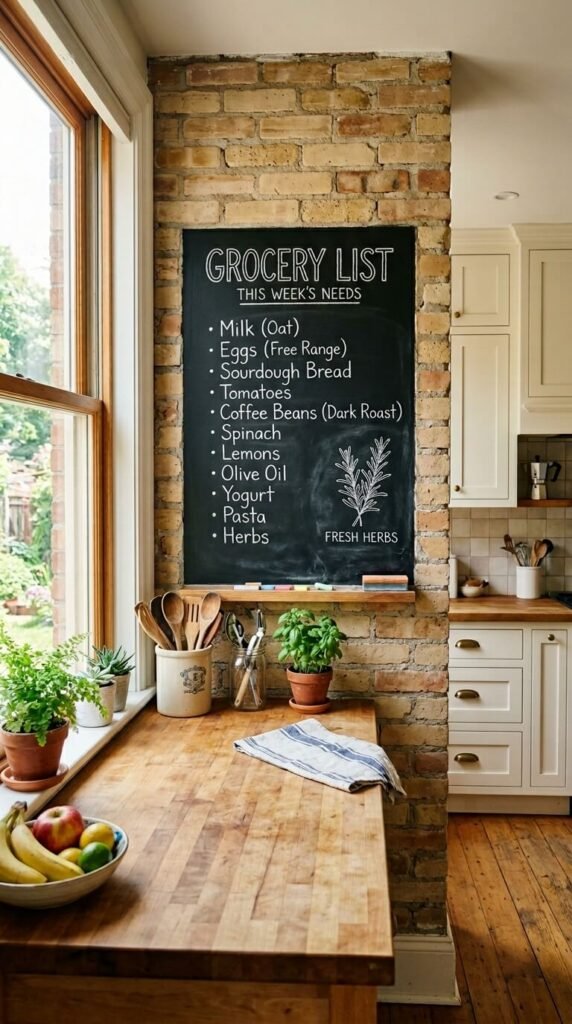
Applying chalkboard paint to a defined section of your brick wall gives you a functional surface while leaving most of the brick exposed. Mask off the section you want, then apply two coats of chalkboard masonry paint. It works on porous brick with good adhesion. Let it cure for 24 hours before writing on it. Use it as a menu board in a kitchen, a memo board in an office, or a drawing wall in a playroom. Chalkboard paint costs about $15–$20 per quart. It’s a practical, low-cost treatment that adds personality and usefulness at the same time.
20. Create a Brick Gallery Wall Arrangement
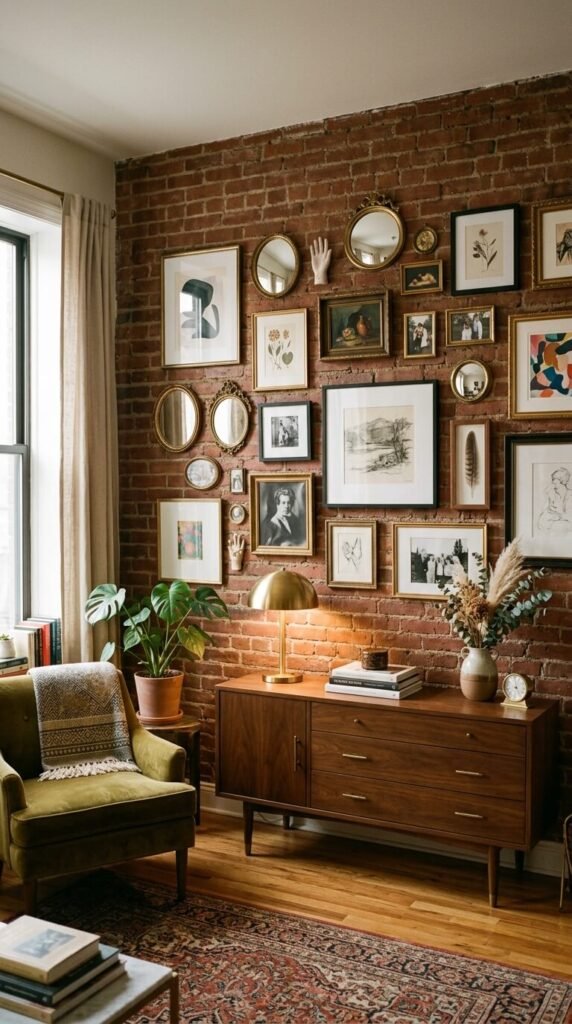
Hanging a gallery arrangement directly on brick is easier than it sounds. Use brick clips — small metal clips that hook over the brick edge — to hang frames without drilling. Or use picture hanging strips rated for the frame weight pressed against a sealed brick surface. Mix frame sizes, materials, and artwork types. Include mirrors, prints, dried botanicals, and small objects. The irregular brick texture behind the gallery adds depth and warmth that a flat white wall never could. This is one of the most cost-effective ways to personalize a brick accent wall.
21. Apply a Metallic Glaze Over the Brick
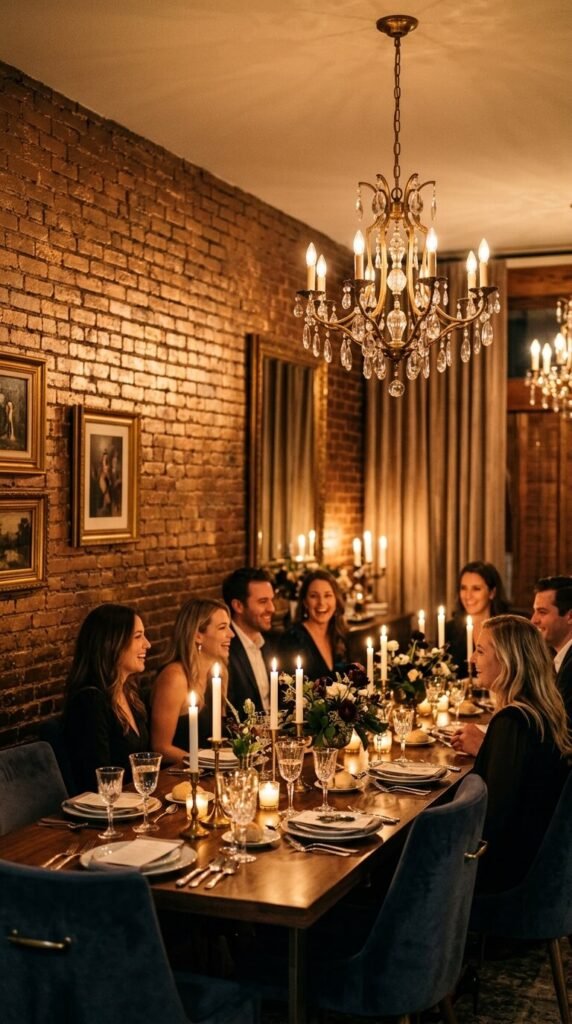
A metallic glaze brushed lightly over sealed brick adds a hint of shimmer without looking garish. Use a dry-brushing technique: dip a wide brush in bronze, gold, or silver craft glaze and wipe most of it off on a rag, then drag it lightly across the brick surface. Only the raised faces of the brick catch the color. The mortar lines stay dark. The result is subtle and sophisticated — especially in dining rooms and living rooms lit by warm bulbs. Craft metallic glazes cost $10–$20 and a little goes a long way.
22. Build a Brick-Backed Fireplace Surround
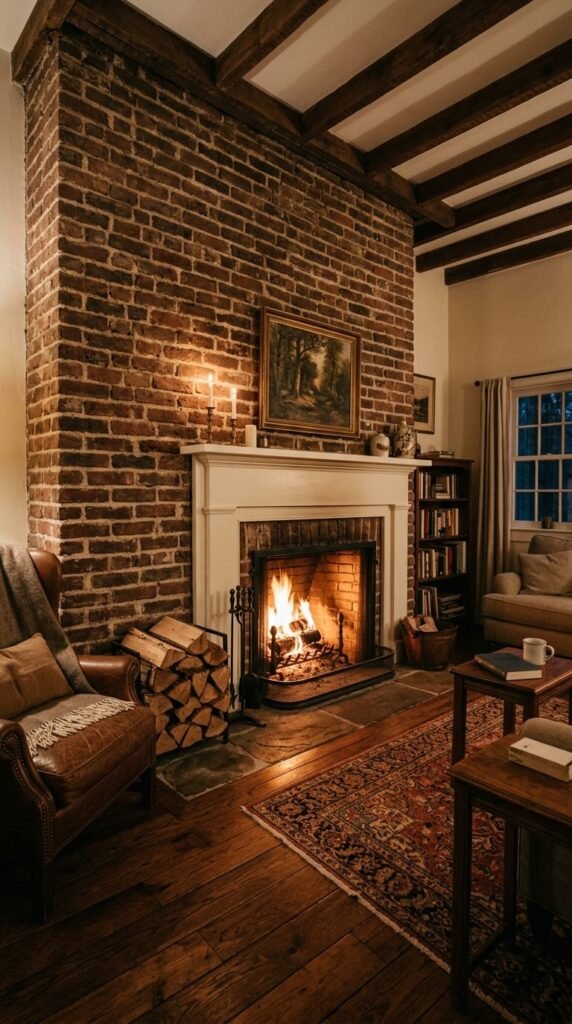
If you’re lucky enough to have a fireplace on a brick wall, let the brick run floor to ceiling around it rather than boxing it in with drywall. Strip plaster or drywall to expose the full surround. Add a simple wood mantel painted white or left natural. The combination of live fire behind the brick face and raw brick up the wall creates a genuinely primal, satisfying focal point. Clean the brick with a masonry cleaner and seal it. No paint needed. The fireplace and brick together do all the work — just stay out of the way.
23. Add Climbing or Trailing Plants Against the Brick
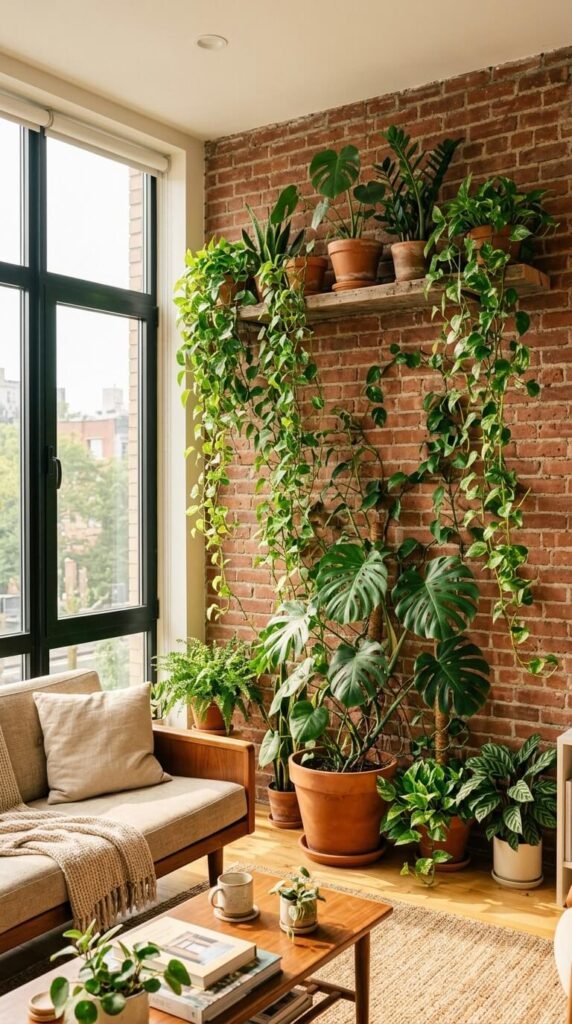
Plants and exposed brick are natural partners. The green of living plants against terracotta or charcoal brick creates a biophilic tableau that looks both effortless and considered. Mount a high floating shelf on the brick and place trailing plants — pothos, string of pearls, or ivy — that cascade down the wall. Or use a tall floor plant like a monstera or fiddle leaf fig positioned directly in front of the brick. The combination of organic materials — soil, leaf, and stone — creates layered warmth and life. Plants cost $10–$40 each at a local nursery.
24. Repoint and Repair Mortar for a Crisp Refresh
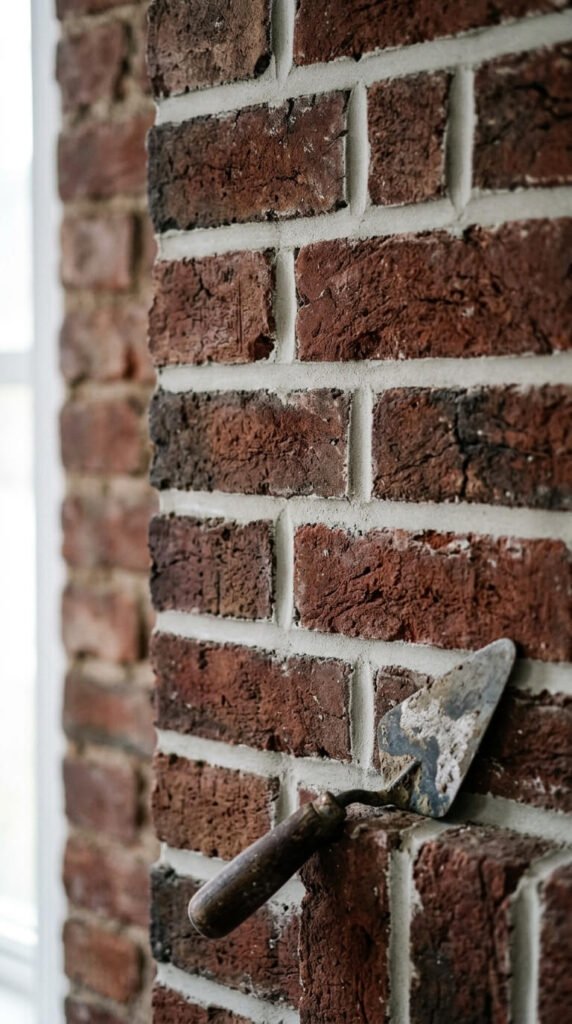
Old brick walls often have crumbling or missing mortar that makes the whole wall look neglected. Repointing — raking out old mortar and replacing it with fresh mix — brings the wall back to life without changing its character. Use a cold chisel or oscillating tool to remove loose mortar about 3/4 inch deep, then pack in fresh premixed mortar with a pointing trowel. Smooth the joint to match existing mortar profile. A bag of mortar mix costs $8–$15. It’s slow, careful work, but the result is a wall that looks restored and intentional rather than worn out.
25. Use the Brick as a Backdrop for Open Shelving Units
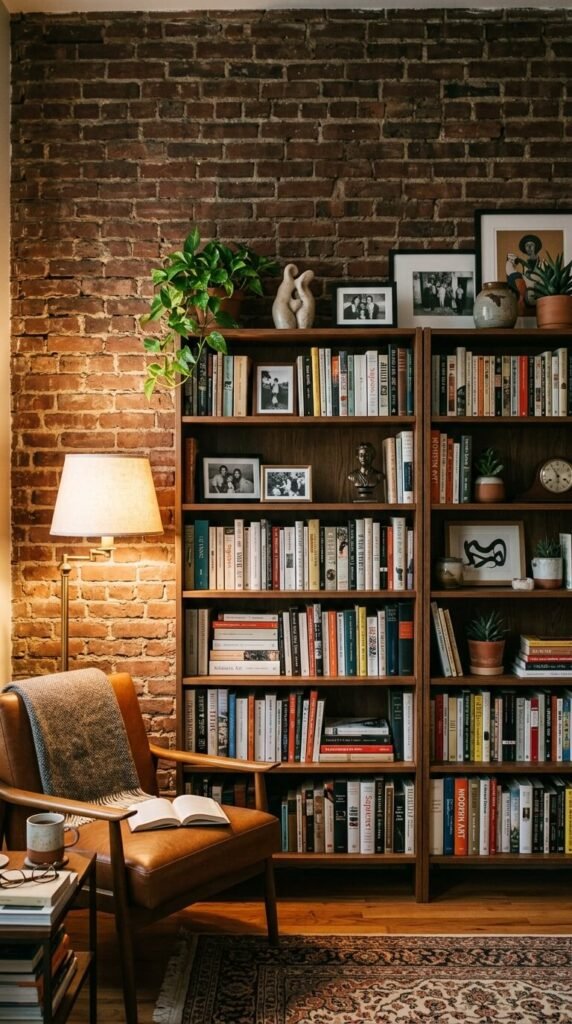
You don’t always need to mount things to the brick. Freestanding shelving units placed against brick let you enjoy the texture without drilling a single hole. A tall open bookcase, ladder shelf, or modular unit pushed against a brick wall looks intentional and layered. The brick behind the shelves acts as a visual backdrop, adding depth and warmth. Move the unit whenever you want. This works especially well in rental apartments where you can’t permanently alter walls. Freestanding bookshelves start at $50–$100 at furniture stores or can be found secondhand.
26. Stencil a Pattern Over the Brick Surface
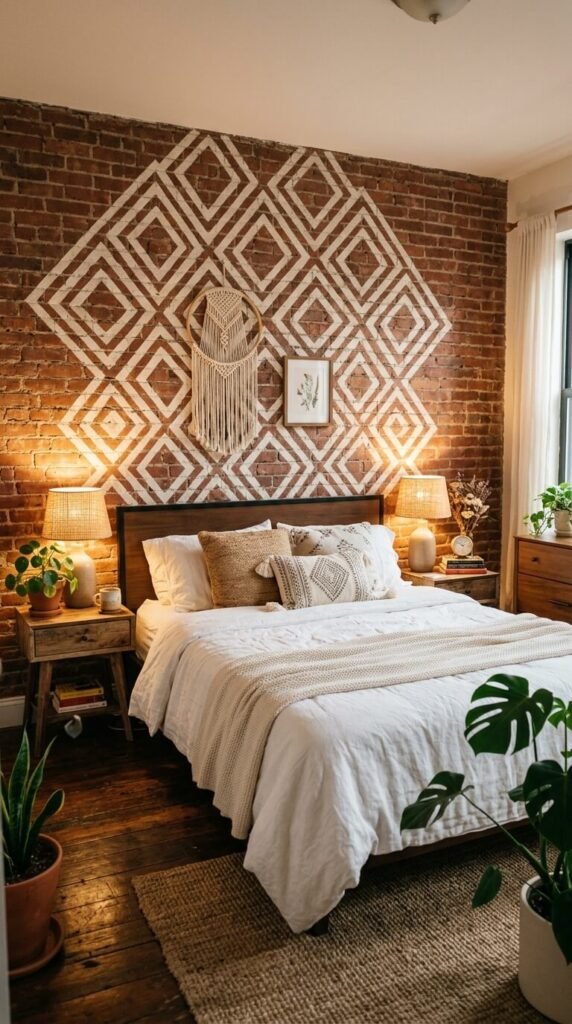
Stenciling over brick sounds tricky but works well on smooth-faced brick. Tape a laser-cut stencil directly against the sealed brick surface. Use a stiff bristle brush and apply paint in a dry-brushing motion — minimal paint on the brush prevents bleeding under the stencil edges. Simple geometric patterns — diamonds, crosses, Moroccan tiles — work better than detailed designs on rough surfaces. Stencils cost $10–$25 online. Use a contrasting color for bold impact or a tone-on-tone shade for something subtle. The result reads as pattern from a distance and texture up close.
27. Leave One Section Unfinished for Contrast
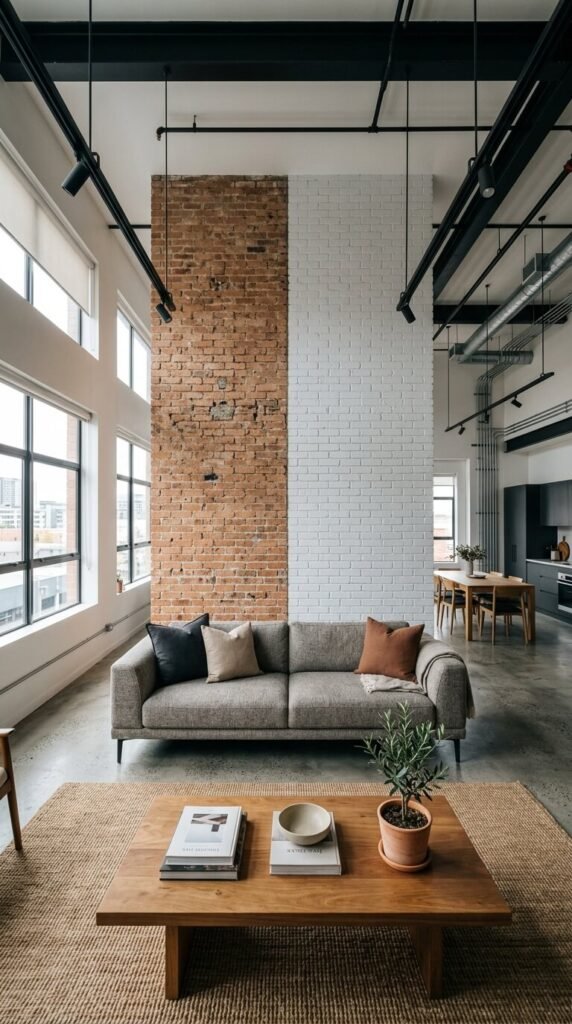
The most underrated brick treatment might be intentional contrast — leaving part of the wall raw and treating the rest. Paint half the wall white and leave half natural. Seal two-thirds and limewash one-third. The division itself becomes the design. It looks like a deliberate artistic decision rather than an unfinished project (as long as the line between sections is clean and straight). Use painter’s tape and a level to mark the dividing line. This approach costs almost nothing if you already have paint. It creates a graphic, modern look that photographs beautifully and makes a room feel designed.
Conclusion
Exposed brick doesn’t need expensive materials or professional help to look its best. As this list shows, some of the most striking treatments — whitewashing, repointing, adding plants, floating shelves, or angled lighting — cost very little and take a single weekend. The key is choosing a treatment that matches your room’s existing character rather than fighting against it. Start with one approach. See how it feels. Build from there. Whether you seal the brick and walk away or layer it with art, textiles, and lights, you’re working with one of the most honest and durable surfaces in interior design. Use it well.