You don’t need a fancy studio or years of training to create a jaw-dropping floral arrangement. With a few simple techniques, the right tools, and a little creative confidence, you can turn a grocery store bouquet into something that looks straight out of a high-end flower shop. Ready to impress everyone who walks through your door?
Start With the Right Tools and Flowers
Before you touch a single stem, set yourself up for success. Professional florists never wing it — they prep everything in advance.
What you’ll need:
- A clean vase or vessel (mason jars and pitchers work beautifully too)
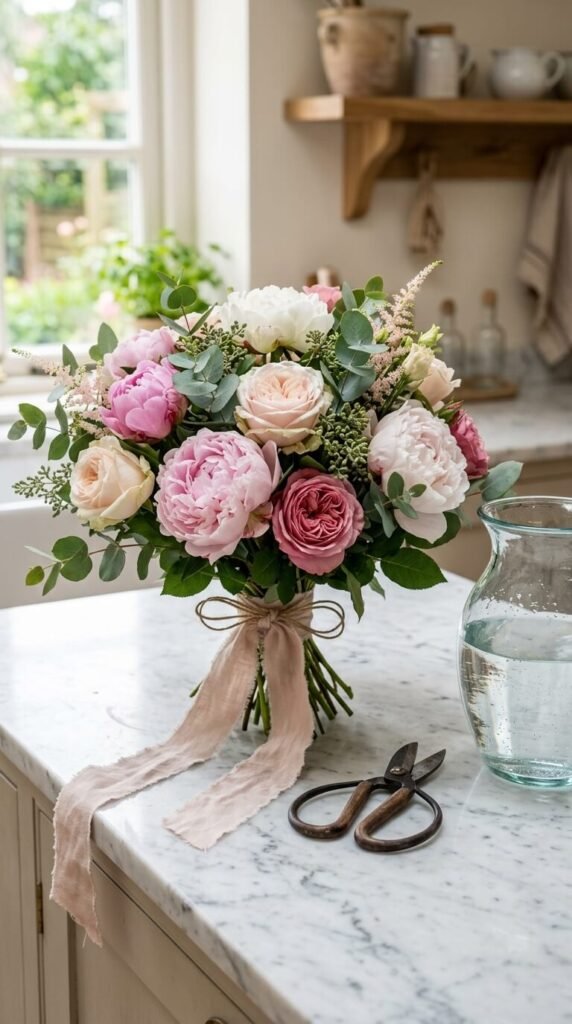
- Sharp floral scissors or pruning shears
- Floral tape or clear rubber bands
- Fresh flower food (or a DIY mix of sugar, bleach, and lemon juice)
- A clean bucket of water for conditioning your stems
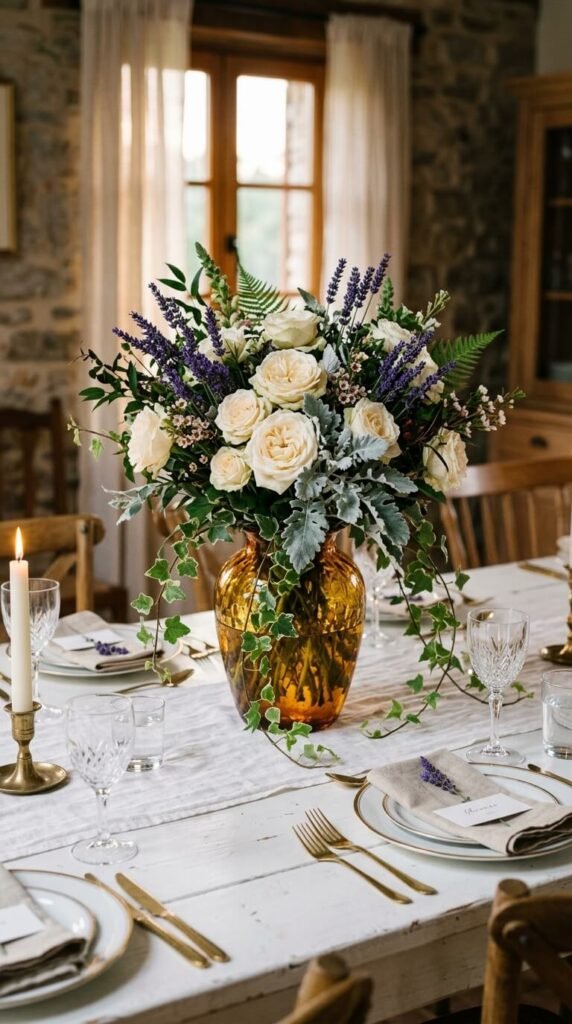
Choosing your flowers: Go for a mix of three types — a focal flower (the star, like roses or sunflowers), filler flowers (like baby’s breath or wax flowers), and greenery (eucalyptus, ferns, or ruscus). This trio is the secret behind every arrangement that looks intentional rather than random.
Prep Your Stems Like a Pro
This step is everything — and most people skip it.
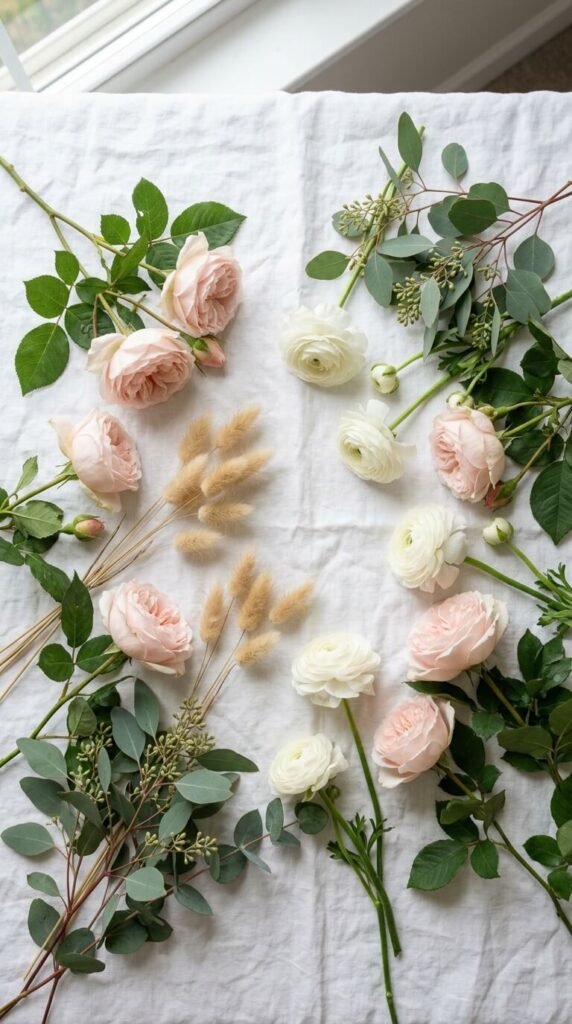
- Remove packaging and place flowers in a bucket of cool water immediately.
- Strip the lower leaves from each stem. Any leaves sitting below the waterline will rot and cloud your vase water fast.
- Cut stems at a 45-degree angle — this increases the surface area and helps flowers drink more efficiently. Always cut under running water or while the stem is submerged.
- Let flowers hydrate for at least 1–2 hours (overnight is even better) before arranging.
Pro tip: Woody stems like lilac or hydrangea benefit from being smashed gently at the base with a mallet to help them absorb water more easily.
Build Your Arrangement Step by Step
Here’s where the magic happens. Think of your arrangement in layers, not as a flat bouquet shoved into a vase.
Step 1 — Create a grid. Use floral tape in a criss-cross pattern across the mouth of your vase to create a natural grid. This holds your stems in place and gives your arrangement structure.
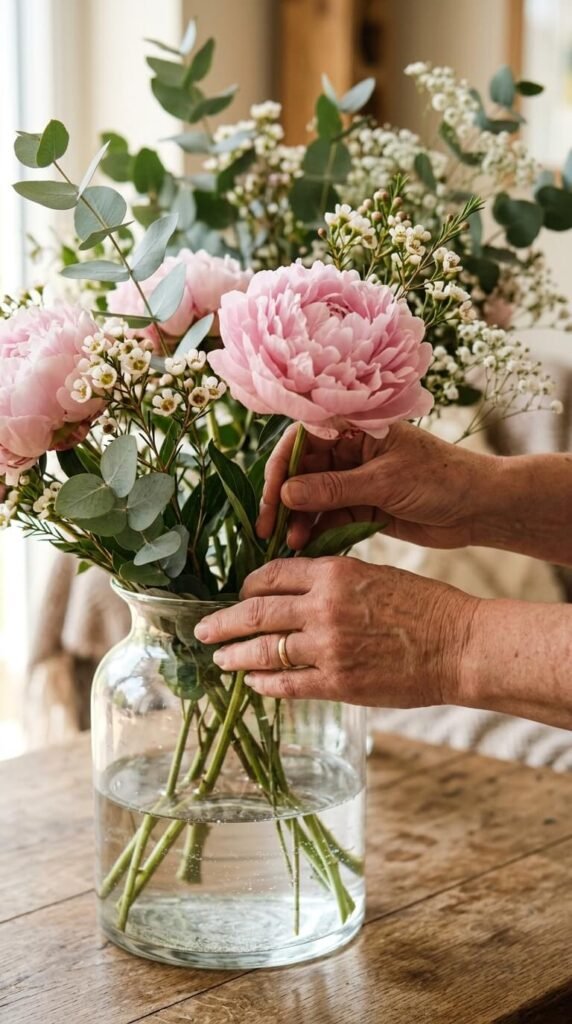
Step 2 — Add your greenery first. Greenery sets the shape and volume of your piece. Let some pieces drape over the edge for a lush, organic feel.
Step 3 — Place your focal flowers. Position them at varying heights — resist the urge to line them up at the same level. Odd numbers (3, 5, 7) always look more natural.
Step 4 — Fill in the gaps. Tuck in your filler flowers around and between the focal blooms. These are what give the arrangement that full, “bought from a florist” look.
Step 5 — Step back and rotate. Florists constantly rotate their work. Look at your arrangement from every angle and adjust any stems that look too crowded or too bare.
Play With Color and Texture
The most visually stunning arrangements aren’t always the most colorful — they’re the most textural.
- Monochromatic palettes (all whites, all peaches) look incredibly sophisticated and are hard to mess up.
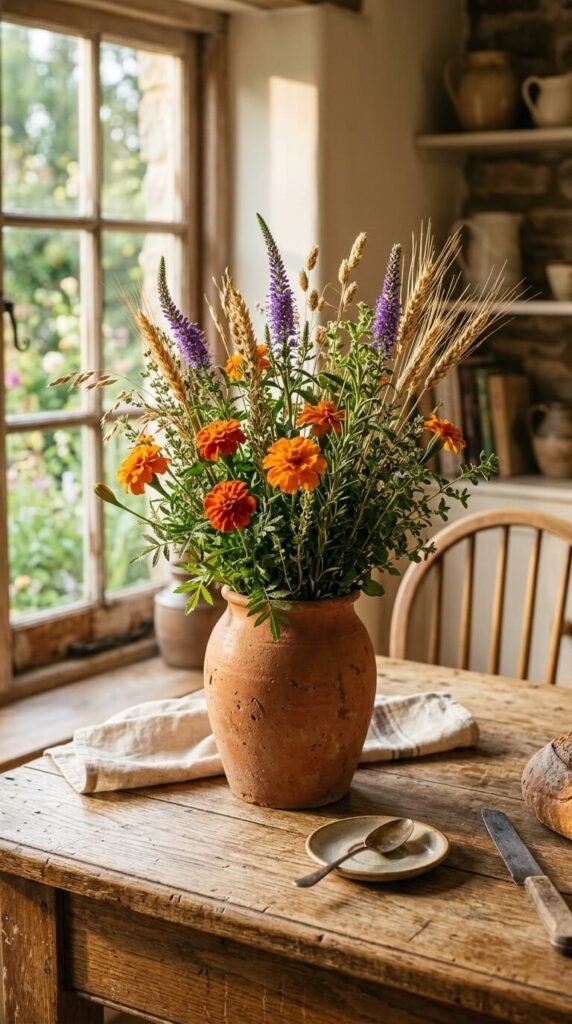
- Complementary colors (purple + yellow, orange + blue) create bold, eye-catching contrast.
- Mix textures freely — pair soft, lush blooms with spiky thistles, feathery grasses, or stiff seed pods.
Don’t be afraid to add unexpected elements like herbs (rosemary, mint), citrus slices, or even small branches for height and drama.
Keep Your Arrangement Looking Fresh
A beautiful arrangement deserves a long life.
- Change the water every two days and re-cut stems each time.
- Keep flowers away from direct sunlight, heat vents, and ripening fruit (ethylene gas from fruit speeds up wilting).
- Mist the petals lightly with a spray bottle to keep them hydrated between waterings.
- Remove any blooms that fade early so they don’t speed up the decline of the rest.
You’ve Got This
Arranging flowers at home is less about perfection and more about playing — with color, shape, texture, and scale. Once you understand the basic structure (greenery → focal flowers → fillers), every arrangement you make will have that polished, professional look.
Save this guide for your next dinner party, event, or just a “treat yourself” Tuesday — because fresh flowers at home are always a good idea. 🌸