Your walls are more than decoration — they’re a love letter to the people who matter most. Whether it’s that chaotic beach trip from three summers ago or a quiet Sunday morning caught on camera, your family photos deserve to be seen. Not buried in a phone album. Not stacked in a drawer. Right there, framed and alive, telling your story every single day.
Here’s how to turn any blank wall into a meaningful, beautiful gallery your whole family will cherish.
Start With the Story You Want to Tell
Before you pick up a single frame, ask yourself: What do I want people to feel when they look at this wall?
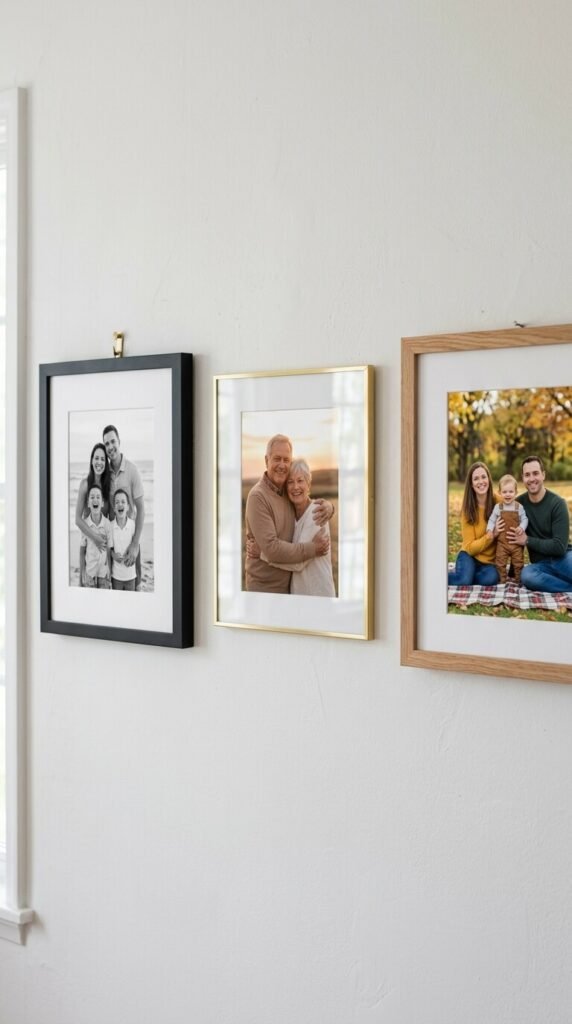
- Chronological story: Arrange photos from oldest to newest — from grandparents’ black-and-white portraits to your kids’ latest milestones.
- Theme-based: Group by seasons, holidays, or locations (beach trips, mountain hikes, holiday mornings).
- Emotion-driven: Curate around a feeling — joy, togetherness, adventure — rather than a timeline.
Knowing your “why” will guide every decision after this.
Choose a Layout That Fits Your Wall
Not every wall is the same, and neither is every layout. Here are the most popular options:
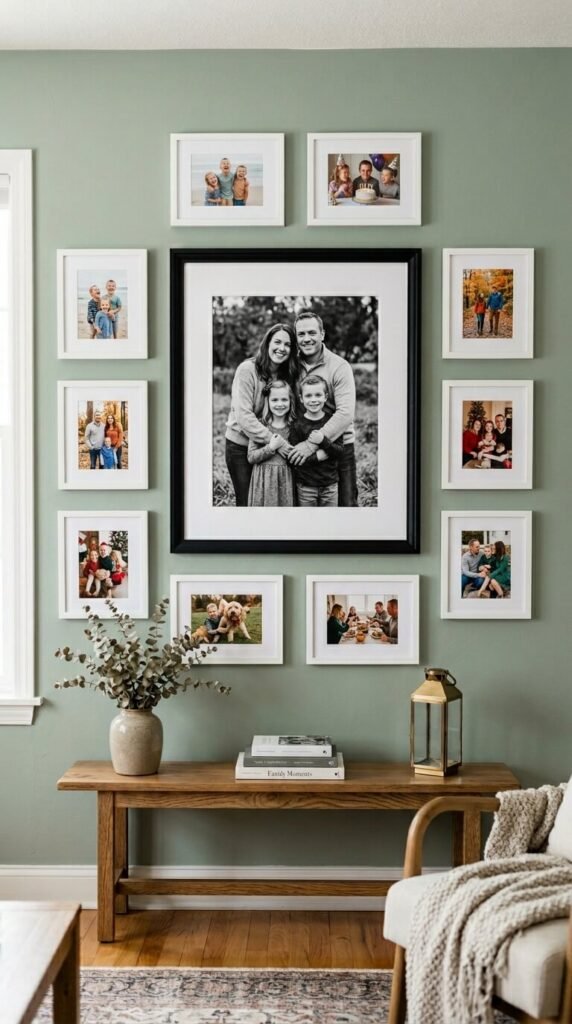
- Grid layout: Clean, symmetrical, and modern. Works beautifully with matching frames.
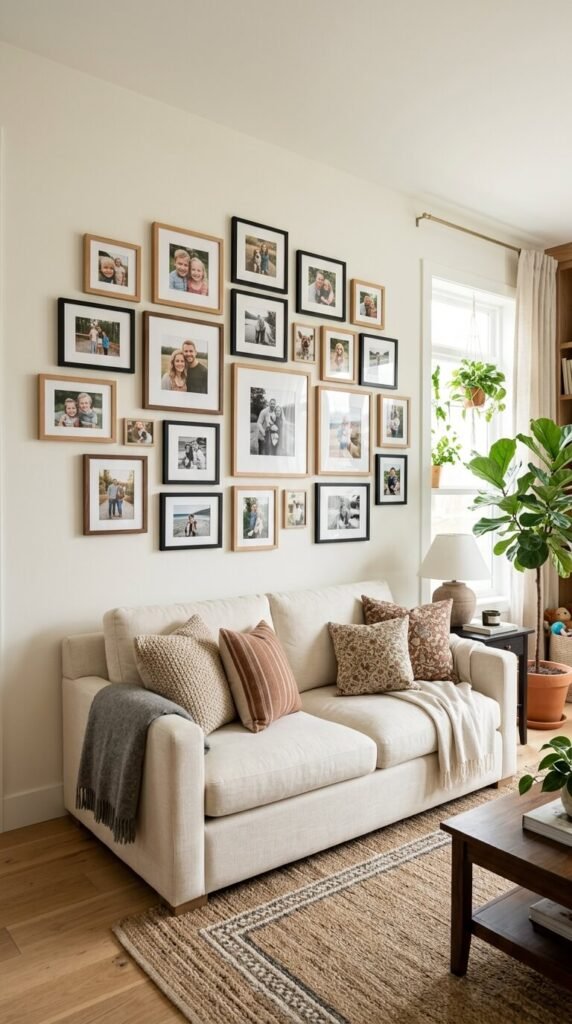
- Salon wall: Organic and layered, mixing sizes and frame styles for a collected-over-time look.
- Linear row: A single horizontal line of frames — perfect for hallways or narrow walls.
- Staircase arrangement: Follow the angle of a staircase for a dynamic, flowing display.
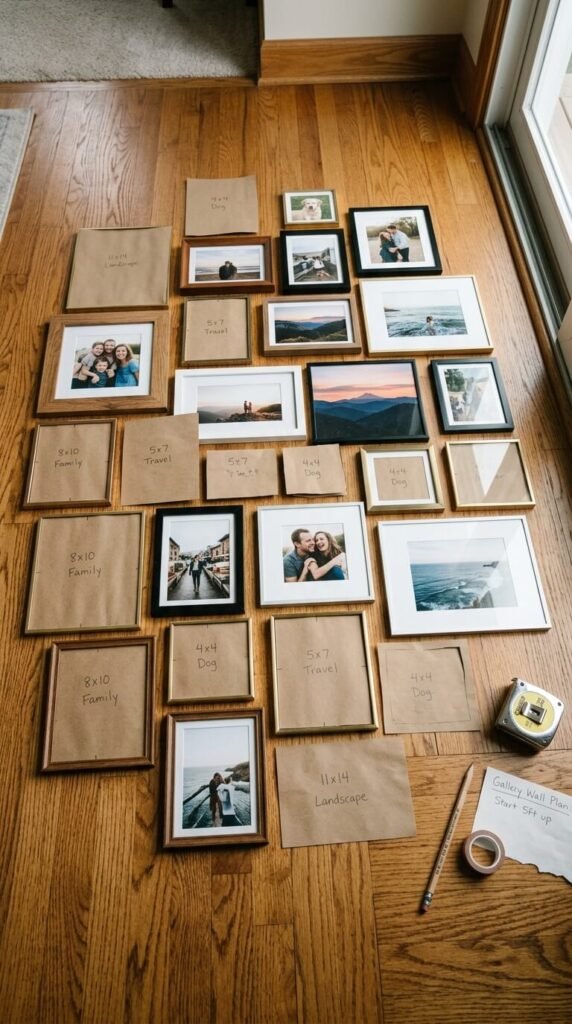
Pro tip: Lay everything out on the floor first. Live with it for a day before committing to any nail holes.
Mix Frame Styles Intentionally
Matching frames feel polished. Mismatched frames feel personal. Both are beautiful — the key is intention.
- Stick to one frame color family (all black, all gold, all natural wood) if you’re mixing shapes and sizes.
- If you want variety in color too, tie it together with consistent mat colors (all white or all cream mats).
- Avoid more than three different frame styles on one wall — it starts to feel chaotic rather than curated.
Select Photos That Actually Tell Your Story
This is the most important step — and the most emotional.
Don’t just print the best-lit, most “Instagram-worthy” photo. Print the real ones:
- The blurry laugh at the dinner table
- Grandma’s hands teaching your daughter to knead dough
- The sleepy road trip faces at 6 a.m.
- That one holiday card photo where nobody was cooperating
Mix portrait and candid shots. A posed family portrait anchors the wall, but the candid moments breathe life into it.
Get the Sizing and Spacing Right
Scale matters more than most people realize.
- Large anchor photo (16×20 or bigger): Place this slightly off-center to create visual interest.
- Medium prints (8×10 or 5×7): Fill in around the anchor.
- Small accents (4×6): Tuck into corners or use as details.
- Keep 2–3 inches of space between frames for a curated feel. Too tight feels cluttered; too spread out loses cohesion.
Add Non-Photo Elements for Depth
A gallery wall doesn’t have to be only photos. Layer in:
- Pressed botanicals or watercolor prints to soften the display
- Meaningful quotes in a simple frame that ties your family’s values together
- A small mirror to reflect light and add dimension
- Kids’ artwork framed alongside photos for a truly personal touch
These elements make your wall feel collected and personal — not like it came from a catalog.
Your Family Story Deserves a Beautiful Home
Every photo on your wall is a tiny piece of your family’s history. Arrange them with care, and you’ll create something that stops visitors in their tracks — and makes you pause every time you walk by.
Start small if you need to. One corner. Three frames. Your favorite photo from the past year. That’s enough to begin.
📌 Save this article and share it with someone who needs a little wall inspiration! Your story is worth telling — and it deserves to be seen every single day.